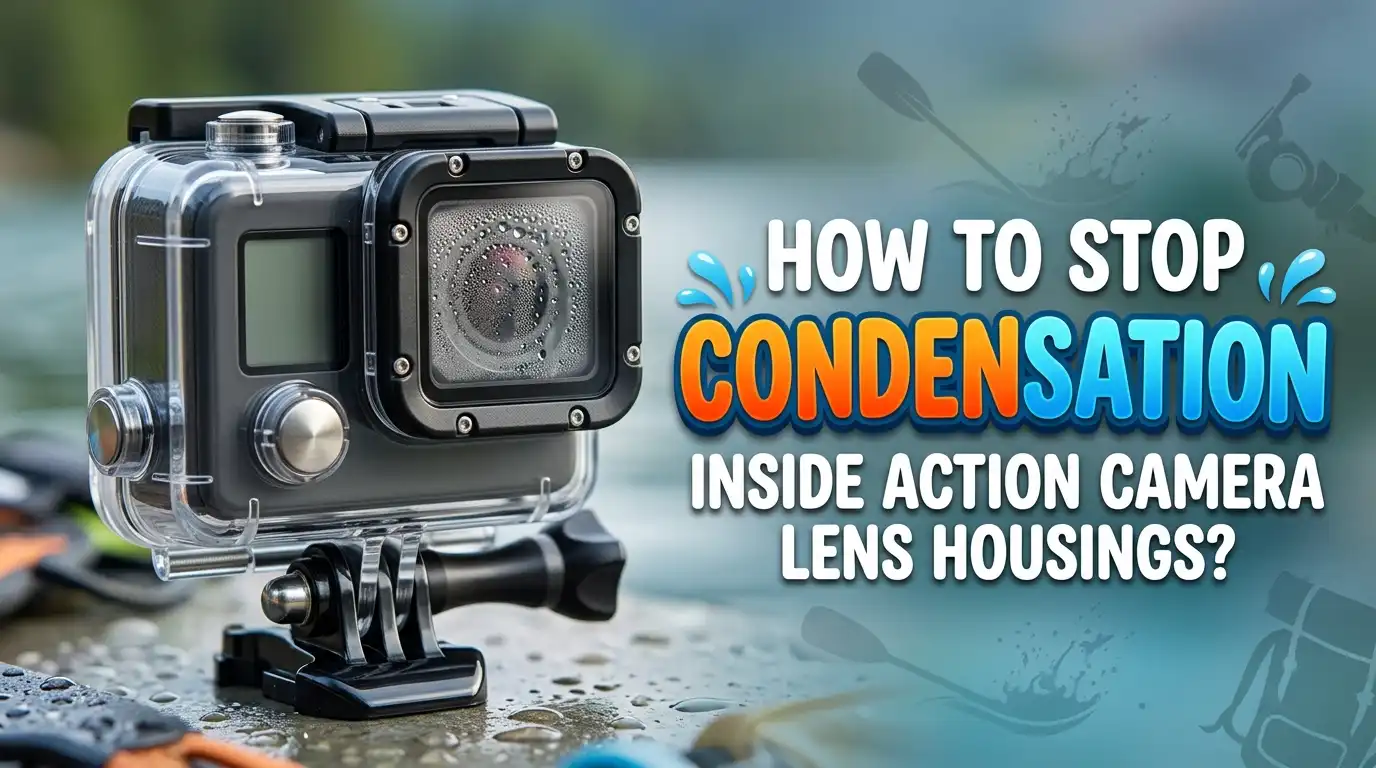
How to Stop Condensation Inside Action Camera Lens Housings?
Few things ruin a great shot faster than a foggy lens. You set up your action camera, hit record, and then watch your footage turn into a blurry, milky mess.
Condensation inside the housing is one of the most common headaches for GoPro, DJI Osmo Action, Insta360, and other action camera users. It happens during dives, surf sessions, snowboarding runs, and even hot summer hikes.
The good news is that fogging is preventable. With the right prep work, the right tools, and a few smart habits, you can keep your lens clear for hours. This guide walks you through every fix that actually works, step by step.
In a Nutshell:
- Dry air is your best friend. Always assemble your camera and housing in the driest, coolest room you have. Bathrooms, kitchens, and humid outdoor spots are the worst places to seal a housing.
- Use anti fog inserts every single time. These small absorbent strips sit beside the lens and soak up trapped moisture. They are cheap, reusable, and made for this exact problem.
- Let your camera acclimate. A warm camera entering cold water will fog instantly. Give it 10 to 20 minutes to match the outside temperature before you start shooting.
- Silica gel packs help during storage. Keep your gear in a sealed box with desiccants between sessions to prevent slow moisture buildup.
- Clean and dry every seal. A dirty O ring traps water vapor and lets it leak in. A quick wipe and check before each use saves your shot.
What Causes Condensation Inside Action Camera Housings
Condensation forms when warm, humid air meets a cooler surface. Inside a sealed housing, this happens fast. The air trapped during assembly carries moisture. When the outside temperature drops, that moisture turns to water droplets on the lens.
Action cameras heat up during recording. The internal sensor and battery raise the temperature inside the case. When you jump into cold water or step into snow, the lens cools faster than the air inside. That temperature gap creates fog within seconds.
Humidity is the second factor. If you sealed your housing in a steamy beach hut, you trapped wet air inside. That moisture has nowhere to go. Even a small amount of damp air will cling to the cold glass and ruin your footage. Understanding this lets you plan your prep around temperature and humidity control, which is what every fix below targets.
Use Anti Fog Inserts for Instant Protection
Anti fog inserts are small strips of absorbent material that sit inside the housing next to the lens. They pull moisture out of the trapped air and hold it. GoPro, Insta360, and DJI all sell their own versions, and many third party brands make compatible packs.
To use them, place one or two strips along the side of the camera before you close the housing. They should not block the lens or the buttons. Once sealed, they start working immediately and stay effective for several hours of shooting.
Pros: They are cheap, lightweight, and very effective. You can carry a pack of 24 in your pocket. They work well for diving, surfing, snowboarding, and humid hikes.
Cons: Most inserts are single use or limited reuse. Once saturated, they stop working. You also need to remember to pack them, which is easy to forget on a quick trip. Quality varies between brands, so cheap inserts may absorb less moisture.
Assemble Your Housing in a Dry Cool Room
The air you trap inside the housing during assembly is the air your camera breathes for the whole session. If that air is humid, fogging is almost guaranteed. Always seal your gear in the driest space available.
A bedroom with air conditioning works well. A car with the AC running is another good option. Avoid bathrooms, kitchens, and beachside cabins where moisture floats around freely. If you live in a humid climate, run a dehumidifier in your prep room for an hour before assembly.
Some divers go further and seal their housing inside the fridge. The cold fridge air is dry, and once the door opens, you have a few seconds to snap the case shut before warmer air flows in.
Pros: This method costs nothing and works with any camera. It tackles the root cause directly.
Cons: It takes planning. You cannot always control your environment, especially when traveling. Quick gear swaps in the field will still trap humid air inside.
Add Silica Gel Packets for Long Sessions
Silica gel packets are tiny pouches filled with desiccant beads that trap moisture from the air around them. You probably see them inside shoeboxes and electronics packaging. They work the same way for action cameras.
Drop one or two small silica packets inside your housing before sealing it. Place them where they do not block the lens, mic, or moving parts. They will continue absorbing moisture throughout your shoot, even on long dives or all day adventures.
You can recharge silica packets by baking them in a low oven for an hour or two. Indicating silica gel changes color when saturated, which makes it easy to know when to refresh them. Blue means dry, pink means wet.
Pros: They are reusable, affordable, and last for years. They also protect your camera during storage.
Cons: They take up space inside the housing. Cheap packets can leak beads if torn. They also work slower than dedicated anti fog inserts in active fogging situations.
Let Your Camera Acclimate Before You Shoot
Temperature shock is the biggest fog trigger. Taking a warm camera straight into cold water creates instant condensation on the inside of the lens. The fix is simple: give your camera time to match the outside temperature.
Before a dive, place your sealed housing in the water at the surface for 10 to 20 minutes. Let it sit on the boat deck in the shade. Avoid leaving it in direct sunlight or inside a hot car right before use. The same rule applies for cold weather shoots, where you should keep the camera outside or in a cool bag for at least 15 minutes before recording.
Pros: Acclimating costs nothing and prevents the worst fogging spikes. It also helps the battery perform better in cold conditions.
Cons: It takes patience and planning. You cannot do it during sudden environmental changes like running from a warm cabin into snow.
Keep O Rings and Seals Clean
A clean seal keeps moisture out and dry air in. Dust, sand, hair, or salt crystals on the O ring create tiny gaps that let humid air seep into the housing. Over time, this builds up enough moisture to fog the lens.
Inspect your O ring before every session. Wipe it gently with a soft, lint free cloth. Look for cracks, dents, or stretched spots. Apply a thin layer of silicone grease made for camera housings to keep the rubber flexible and watertight.
Replace your O ring every 6 to 12 months if you use the camera often. Most manufacturers sell replacement rings cheaply. A fresh seal is one of the most overlooked fog fixes.
Pros: Clean seals also prevent flooding, which protects your entire camera. Maintenance takes only a minute.
Cons: O rings wear out and need replacing. Using the wrong grease can damage the rubber. You must check seals every time, even when rushed.
Store Your Camera With Desiccants
Fog problems often start before you even leave the house. Cameras stored in damp cupboards, basements, or garages absorb moisture into every crevice. When you seal the housing later, that moisture comes with you.
Store your action camera in a sealed plastic box or dry cabinet. Add several silica gel packets or a small electric dehumidifier pod inside. Keep the box in a room with stable temperature and low humidity. Avoid windowsills and garages where temperature swings cause condensation cycles.
For divers and travelers, dedicated dry boxes with humidity meters are worth the investment. They keep gear at safe humidity levels of 30 to 50 percent.
Pros: Proper storage extends camera life, prevents mold on lenses, and reduces fogging risk dramatically.
Cons: Dry boxes take up space and add upfront cost. Silica packets need regular replacement or recharging to stay effective.
Try the Fridge Trick for Dry Air
This trick is a favorite among GoPro divers. The air inside a fridge is cold and very dry because the cooling coils condense moisture out of it. Sealing your housing in this air gives you the driest possible start.
Place your camera, housing, and inserts inside the fridge with the case open. Leave them for 20 to 30 minutes. Open the fridge briefly, snap the housing shut quickly, and head out to shoot. The dry, cold air trapped inside resists fogging much better than room air.
Pros: It costs nothing and uses gear you already own. It works especially well in tropical climates where humidity is always high.
Cons: You need a fridge nearby, which limits this method to home prep. Cold gear may take longer to warm up if you are shooting in a hot environment.
Use a Lens Cloth and Quick Defog Techniques
Sometimes fog appears mid shoot. Knowing how to clear it fast saves the rest of your session. Carry a microfiber cloth in a sealed bag so it stays dry. When the housing fogs, open it briefly in a sheltered spot, wipe the inside lens, swap in a fresh anti fog insert, and reseal.
For surface shooting, you can warm the housing slightly with your hands or place it in the sun for a few minutes. The warmth evaporates the moisture inside. Never use heat sources like hair dryers on a housing, as high heat can warp the seals.
Pros: Quick defog techniques rescue a session that would otherwise be lost. They require minimal extra gear.
Cons: You lose shooting time. Opening the housing in wet or sandy conditions risks letting more moisture or debris inside.
Avoid Common Fogging Mistakes
A few simple errors cause most fog problems. Sealing the housing right after a hot shower traps steam inside. Opening the case on a wet boat deck lets sea spray in. Leaving the camera in a hot car before a cold water dive guarantees a foggy lens.
Skipping the anti fog inserts to save a few cents is another classic mistake. Many users also forget to dry the camera body itself before sealing it. A damp camera releases moisture into the housing slowly during your shoot.
Reusing old, saturated inserts is just as bad as using none at all. Always start each session with fresh or freshly dried inserts. Plan your prep routine the night before so you are not rushed in the morning.
Pros of avoiding mistakes: No extra cost, just better habits.
Cons: Building the habit takes a few sessions of conscious effort.
Pick the Right Housing for Your Conditions
Not all housings perform equally. Some are built for shallow splash protection, while others handle deep dives. Using the wrong one creates pressure changes and fogging risk. Match your housing to your activity.
For surfing and snorkeling, a basic waterproof case is fine. For diving below 10 meters, use a dive rated housing with thicker glass and proper seals. Insta360 and GoPro both make dive cases specifically designed to reduce fogging at depth.
Check the depth rating, the material, and the seal design before buying. Glass lens ports resist scratches and fog better than plastic. A well designed housing with proper venting paths and anti fog coating saves you trouble later.
Pros: The right housing prevents fog, leaks, and pressure damage. It pays off over many sessions.
Cons: Quality housings cost more upfront. You may need different housings for different activities.
Build a Pre Shoot Checklist
A quick checklist makes every fix automatic. Going through the same routine before each shoot stops fogging from sneaking up on you. Write it down or save it on your phone.
Your checklist should cover: dry the camera body, check the O ring, apply silicone grease if needed, place anti fog inserts inside, drop in a silica packet, seal in a dry room, and let the camera acclimate to outside conditions. Five minutes of prep saves hours of ruined footage.
Run the checklist even on quick trips. Most fog problems happen when people skip steps because they are in a hurry. Build the habit until it feels automatic.
Pros: A checklist creates consistency and removes guesswork. It works for any camera and any condition.
Cons: It adds a few minutes to your prep time. Some users find it tedious until it becomes routine.
Frequently Asked Questions
How long do anti fog inserts last inside an action camera housing?
Most anti fog inserts last between 4 and 24 hours of use depending on humidity. In tropical or underwater conditions, they saturate faster. Replace them after each long session or whenever you notice fog returning.
Can I reuse anti fog inserts after they get wet?
Some inserts can be dried and reused. Place them in a low oven at around 90 degrees Celsius for 30 to 60 minutes. Once they crumble or lose color, throw them out. Single use inserts should not be reused.
Will silica gel and anti fog inserts work together?
Yes, they work well together. Silica gel handles long term moisture, while anti fog inserts target active fogging near the lens. Using both gives you the best protection during long dives or humid hikes.
Why does my GoPro fog up only after the camera heats up?
When the camera records, the battery and processor warm the air inside the housing. Warm air holds more moisture. When the camera cools again or hits cold water, that moisture condenses on the lens. Acclimating and using anti fog inserts solves this.
Is it safe to put my action camera in the fridge to prevent fogging?
Yes, briefly. Keep the housing dry and place the camera and case open inside for about 20 minutes. Avoid the freezer, as extreme cold can damage the battery and screen. Never store cameras in the fridge long term.
What humidity level is safe for storing action cameras?
Aim for 30 to 50 percent relative humidity. Below 30 percent can dry out rubber seals, while above 60 percent encourages mold and fogging. A small hygrometer in your storage box helps you keep the level steady.

Hello, i’m Ivoria i am the face behind Tech Tracker Blog. I am passionate about my work and love to explore gadgets and share about my experience.