How To Fix Portable AC Exhaust Hose Condensation Leaks?
Water dripping from your portable AC unit can turn a cool room into a soggy mess. This problem happens more often than you think, especially during humid months.
Condensation leaks usually point to a drainage issue. Your unit collects moisture from the air, and that water needs a clear path out.
The exhaust hose plays a bigger role in this than most people realize. A loose connection, a damaged hose, or an incorrectly capped drain port can all cause water to pool where it shouldn’t.
The good news? You can fix this yourself without calling a repair technician.
In a Nutshell
- Check every connection point. Loose fittings between the hose and unit let air and moisture escape. Tighten adapters and connectors so they fit snugly with no gaps.
- Cap unused drain ports. If your unit has two drainage points, seal the one you are not using. An open lower port will drip first, even if the upper one works fine.
- Inspect the hose for damage. Cracks or holes let condensation pool inside instead of draining out. Swap damaged hoses for a compatible replacement rated for portable AC use.
- Clean filters often. Dirty filters block airflow and increase moisture buildup inside the unit. A quick monthly clean keeps drainage running smoothly.
- Watch the humidity level. High humidity means your AC works harder and produces more condensation. This can overwhelm the drainage system on tough days.
- Position the hose correctly. A sagging or bent hose lets water flow backward into the unit. Keep it straight and slightly angled downward for best results.
Why Portable AC Exhaust Hoses Leak Condensation
Your portable AC unit produces condensation as part of its cooling process. Warm air enters the machine, gets cooled down, and moisture condenses inside just like water droplets on a cold glass.
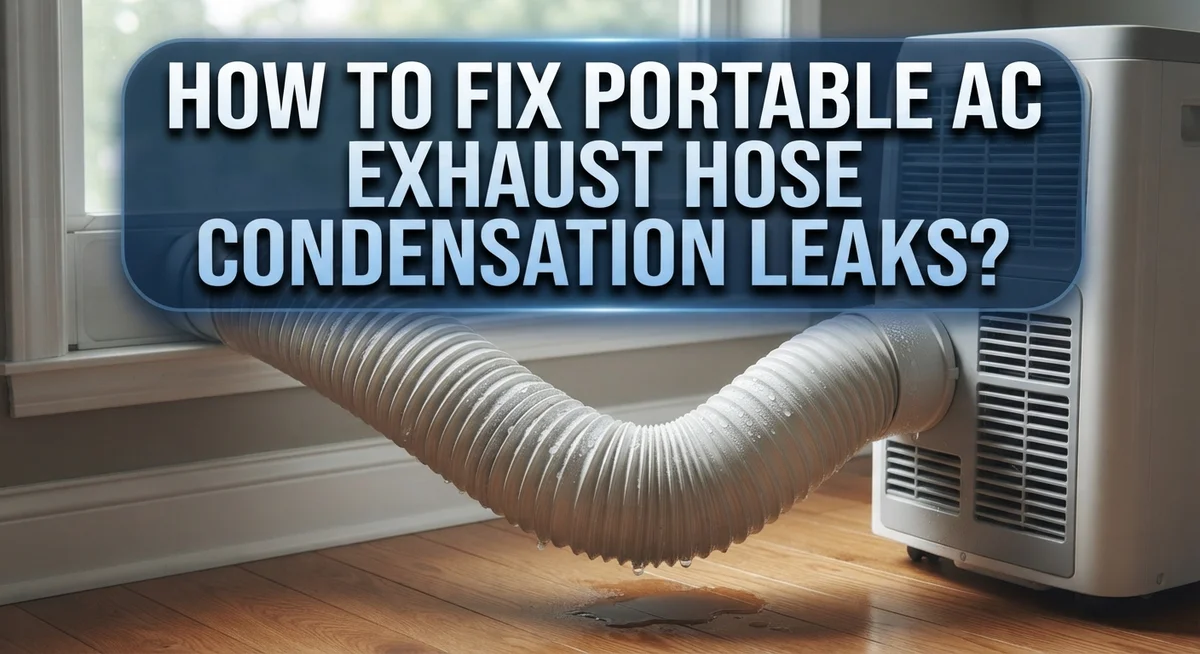
The exhaust hose is where problems start. This hose carries hot air outside your home. When that hot air meets cooler outdoor temperatures, additional condensation forms inside the hose walls. If drainage pathways get blocked or connections loosen, water backs up instead of flowing out.
Two hose systems create extra complexity. These units pull in fresh air through one hose and push out hot air through another. Each hose has its own drainage port at the bottom. If you cap the wrong port or leave one unsealed, condensation collects in the wrong place and leaks onto your floor.
High humidity makes everything worse. When outdoor moisture levels spike, your AC unit works overtime removing water from indoor air. This means more condensation forms inside the machine and hose. Your drainage system gets overwhelmed faster than it can handle the water volume.
Loose connections are the biggest culprit. Even tiny gaps between the hose and your unit allow air to escape. This escaping air carries moisture with it. Small leaks at connection points grow into puddles over time.
Dirty filters restrict airflow inside the unit. When air cannot flow freely, moisture stays trapped longer. This excess moisture then escapes through drainage ports or weak connection points.
The hose itself can develop cracks or holes from age, heat exposure, or physical damage. Water pools inside a damaged hose instead of draining properly. Once pooled, that water eventually finds its way back into your unit or onto your floor.
Tools and Materials You’ll Need Before You Start
Before you start fixing condensation leaks, gather the right supplies. Having everything ready saves time and frustration.
Basic hand tools make the job easier. You will need an adjustable wrench to tighten hose connections. A flathead screwdriver helps you secure clamps and access tight spots. Keep a pair of pliers on hand for gripping and twisting fittings firmly.
Cleaning supplies are essential for maintenance. Grab a soft brush or old toothbrush to clean debris from drain ports and connection points. You will also want clean rags or paper towels to wipe away water and dust. A vacuum with a hose attachment helps remove lint from filters and intake areas.
Replacement parts depend on your unit’s condition. Hose clamps in various sizes secure connections tightly. Duct tape or waterproof tape seals small gaps temporarily, though permanent fixes work better long term. Have compatible drain hose segments ready if your current hose shows cracks or damage.
Diagnostic tools help identify problems. A flashlight lets you inspect inside the unit and along the hose length. A level ensures your exhaust hose slopes slightly downward, which helps water drain properly instead of pooling.
Protective gear keeps you safe. Wear gloves when handling dusty filters and dirty hose sections. Safety glasses protect your eyes from debris when working inside the unit or underneath connections.
Optional but helpful items include a bucket to catch water during inspection and a measuring tape to verify hose diameter before buying replacements. Keeping a small notebook lets you document which drain port you are using and when you last cleaned filters.
Organize these supplies in one location before starting work. This approach prevents interruptions and keeps you focused on fixing the leak quickly.
Step-by-Step: Sealing Hose Connections to Stop Leaks
Sealing hose connections stops leaks before they start. This is the most important step because loose fittings let moisture escape and reduce cooling efficiency.
Start by turning off your portable AC unit. This keeps you safe while working with connections. Wait a few minutes for any residual pressure to release from the hose system.
Check where the exhaust hose connects to your unit. Look for the connector or adapter that holds the hose in place. Grip this fitting firmly with your hand and try to wiggle it gently. If it moves easily, the connection is too loose.
Tighten the connector by hand first. Turn it clockwise until you feel resistance. Do not force it or you may crack the plastic fitting. Hand tightening is usually enough for a secure seal.
Inspect the hose end that enters the window or wall outlet. This connection point leaks frequently because it gets bumped or shifted. Push the hose firmly into the adapter or outlet. Make sure it goes in completely with no gaps visible between the hose and the connector.
If your unit has a condensate drain outlet, check that connection too. The hose that carries water away must fit snugly onto the drain port. A loose drain connection causes water to drip inside your unit instead of flowing outside.
For units with two drainage ports, verify that you capped the unused lower port completely. A loose or missing cap lets air enter and disrupts proper drainage.
Test your connections by running the unit for 15 minutes. Check underneath for any drips. Tighten any connections that still leak. Proper sealing prevents most condensation problems from occurring.
How to Properly Cap and Manage Drain Ports
Drain ports are where water exits your portable AC unit. If you don’t manage them correctly, water pools inside or leaks onto your floor.
Most portable AC units have two drain options: an upper port and a lower port. The upper port connects to a drain hose that carries water outside. The lower port sits at the bottom of the unit for emergency drainage or manual draining.
Here’s the key rule: cap the lower port completely if you’re using the upper drainage system. An uncapped lower port creates a direct path for water to escape, even when you don’t want it to. Use a rubber cap, plug, or adapter designed for your unit’s port size.
Check that your cap fits snugly. A loose cap defeats the purpose and water still leaks out. Twist it clockwise until it’s tight, but don’t force it so hard that you crack the plastic.
Inspect your drain port connection points regularly. Look for cracks, corrosion, or mineral buildup around the ports. These problems block water flow and cause backups inside the unit.
If you notice water dripping from a capped port, the seal isn’t working. Remove the cap and clean the port opening with a soft cloth. Check the cap itself for damage. Replace it if you see cracks or worn rubber.
For the active drain port (usually the upper one), ensure the hose connection is airtight. Water should flow smoothly through the hose without leaking at the connection point.
Test your setup by running the unit for 10 minutes and watching for drips around both ports. Proper port management keeps water moving outside, not onto your carpet.
Correct Exhaust Hose Positioning to Prevent Backflow
Exhaust hose positioning directly affects whether water backs up into your portable AC unit. When the hose slopes downward toward the window or wall outlet, gravity helps condensation drain outward instead of pooling inside your machine.
Check your hose angle first. The exhaust hose should descend at least slightly as it moves away from your unit. A hose that runs level or tilts upward traps moisture. Water cannot flow backward against gravity, so it accumulates in the line and drips back into the unit.
Position the hose so the outlet end sits lower than the connection point on your portable AC. Even a gentle slope matters. A difference of just two to three inches over a six foot hose creates enough angle for proper drainage.
Avoid sharp bends or kinks. Creases in the hose trap water and block airflow. Route the hose in a smooth path from your unit to the window or wall. If you must turn corners, use gentle curves rather than tight angles.
Secure the hose so it cannot sag or shift over time. A drooping hose loses its slope and allows condensation to pool. Use clips or supports to hold the line steady.
Keep the exhaust outlet clear of obstructions. Blocked exits force air and moisture back into the hose. Check that the window insert or wall vent doesn’t have debris, leaves, or ice blocking the opening.
Test your setup by running the unit for 20 minutes. Watch for water dripping from connection points or pooling around the base. Proper positioning should eliminate these problems within the first few minutes of operation.
Maintenance Tips to Keep Leaks From Coming Back
Regular maintenance stops condensation leaks before they start. Your portable AC works best when you stay on top of simple tasks.
Clean or replace your air filter every two weeks. A clogged filter restricts airflow and forces your unit to work harder. This extra strain increases condensation buildup inside the system. When moisture can’t drain properly, it backs up and leaks from connections.
Check all hose connections monthly. Tighten any fittings by hand to ensure they stay secure. Vibration from the unit can loosen connections over time, even if they felt tight before.
Inspect your drain hose for cracks or damage. Look along the entire length, not just the ends. Small splits let water escape before it reaches the drainage outlet. Replace any compromised hose sections immediately with compatible portable AC rated replacements.
Wipe down drain ports and connection points regularly. Mineral deposits and dust accumulate around these areas. Buildup blocks water flow and creates weak spots where leaks form. Use a soft cloth to keep everything clean and dry.
Run your unit for short test cycles weekly. This helps you catch new leaks early, before water damage spreads. Watch for dripping at connections or pooling on your floor.
Keep your exhaust hose outlet clear of debris. Leaves, dirt, and obstructions cause backflow and internal pressure buildup. A blocked outlet forces condensation back into your unit instead of outside.
Store your portable AC properly during off seasons. Empty all water from the tank and drain lines before storage. Stagnant water promotes mold growth and corrodes internal components. When you restart your unit next season, it will drain more efficiently.
Common Mistakes That Cause Recurring Leaks
Portable AC units fail to drain properly when you make simple installation mistakes. These errors create recurring leaks that damage your floor and frustrate your cooling efforts.
Loose hose connections represent the most common culprit. You attach the exhaust hose to your unit, but the fitting isn’t fully tightened. Water finds tiny gaps and drips out during operation. Always hand tighten connectors until they feel snug, then check them again after running your unit for 10 minutes.
Forgetting to cap the lower drain port causes persistent problems. Your portable AC has two drainage points. If you’re using the upper port, you must completely seal the lower one. An uncapped lower port acts like an open drain line, allowing water to escape constantly. Verify your cap sits flush against the port opening.
Neglecting filter maintenance indirectly causes leaks. A clogged filter forces your unit to work harder and produce excess condensation. You end up with more water than your drainage system can handle. Replace or clean your filter every two weeks to maintain proper airflow.
Improper hose positioning creates backflow issues. Your exhaust hose should angle downward as it exits your unit. If it angles upward or sits level, water pools inside the hose and backs up into your portable AC. Gravity must work with your drainage system, not against it.
Using incompatible hose materials leads to cracks and splits. Standard garden hoses aren’t rated for portable AC exhaust systems. They deteriorate quickly and develop leaks along their length. Always use hoses specifically designed for portable air conditioning units.
These mistakes repeat because people don’t address root causes. Fix the underlying issue, and your leaks stop permanently.
Troubleshooting Persistent or Unusual Leaks
When leaks persist despite your best efforts, you need to dig deeper into what’s really happening inside your system. Constant water dripping suggests your unit is working overtime to remove moisture from the air. High humidity environments create more condensation than your drainage system can handle, especially if indoor humidity exceeds 60 percent.
Check whether water pools in specific locations or appears throughout your setup. Pooling near the unit itself points to connection failures at the condensate outlet. Water appearing further down the hose indicates a clog somewhere along the drain path. Run your fingers along the entire hose length to feel for soft spots, cracks, or internal blockages that restrict water flow.
Unusual leaks sometimes signal a more serious problem. If water sprays from hose connections during operation, your fittings are too loose or damaged. Listen for hissing sounds, which mean air is escaping and moisture is backing up. Watch the hose during the first 10 minutes of operation to see exactly where water emerges.
Test your drainage by disconnecting the hose and pouring water directly into the condensate outlet. Water should flow freely without backing up. If it pools or drains slowly, your internal drain line needs cleaning. Sediment and mineral buildup inside the unit block water movement.
Consider whether you recently moved your portable AC or changed your hose configuration. Even small adjustments to angle or connection points affect drainage performance. Return your setup to its original position and observe whether leaks stop.
If problems continue after checking all these factors, your unit may have an internal malfunction requiring professional inspection. Document exactly when and where leaks appear to help technicians diagnose the issue faster.
Final Thoughts
Fixing condensation leaks in your portable AC exhaust hose comes down to three things. Secure connections, proper drainage, and regular checks.
Most leaks happen because of small gaps. A loose fitting or an uncapped drain port lets water escape where it shouldn’t.
Take time to inspect your setup. Check the hose connectors, the drain ports, and the filter condition. These simple checks solve most problems.
If you have a two hose system, remember to cap the port you’re not using. This single step prevents a huge number of leaks.
High humidity makes your unit work harder. This means more condensation and more drainage demands on your system. Don’t panic if you notice more water during humid weather. This is normal.
However, constant dripping or pooling on the floor is not normal. This usually points to a connection failure or a blocked drain path.
When you spot water outside the unit, act fast. Standing water can damage your floors and create mold problems over time.
Fixing these leaks doesn’t require special tools or expert knowledge. Most fixes involve tightening a connection or clearing a blockage.
Keep your filters clean and your hoses free of cracks. These two habits prevent most future leaks.
If leaks continue after trying these steps, your unit might have an internal issue. At this point, calling a technician makes sense.
Portable AC units work well when you maintain them properly. A little attention now saves you from bigger headaches later.
Stay consistent with your checks and your unit will stay leak free. This keeps your space cool and dry all season long.
Frequently Asked Questions
Why does my portable AC leak water from the exhaust hose?
Water leaks from exhaust hoses when connections aren’t airtight. Small gaps between the hose and the unit allow condensation to escape. Check every connection point carefully. Even a loose fitting causes significant dripping over time.
High humidity levels also increase condensation production. Your unit works harder in humid environments and generates more water. If your area has high moisture, expect more drainage activity than usual.
What should I do if water pools on my floor?
Water pooling indicates a connection failure. Start by inspecting where the hose attaches to your portable AC unit. Tighten any loose fittings you find.
Next, examine the hose itself for cracks or damage. A damaged hose cannot hold water properly. If you spot holes or splits, replacement is necessary. Make sure you use hoses rated for portable AC units specifically.
Can I use the lower drain port instead of the upper one?
Yes, you can use the lower drain port. However, you must cap the upper port completely if you switch. An uncapped port allows water to leak out regardless of which drain you’re using.
The cap creates an airtight seal. Without it, gravity pulls water toward the open port. This is why many people experience leaks after moving their unit or changing drain configurations.
How often should I check my hose connections?
Check connections monthly during cooling season. Look for loose fittings, cracks, or visible water spots around connection points. Regular inspection prevents major problems.
Also check after moving your unit. Installation mistakes happen during relocation. A quick visual inspection takes just a few minutes and saves you from water damage.

Hello, i’m Ivoria i am the face behind Tech Tracker Blog. I am passionate about my work and love to explore gadgets and share about my experience.