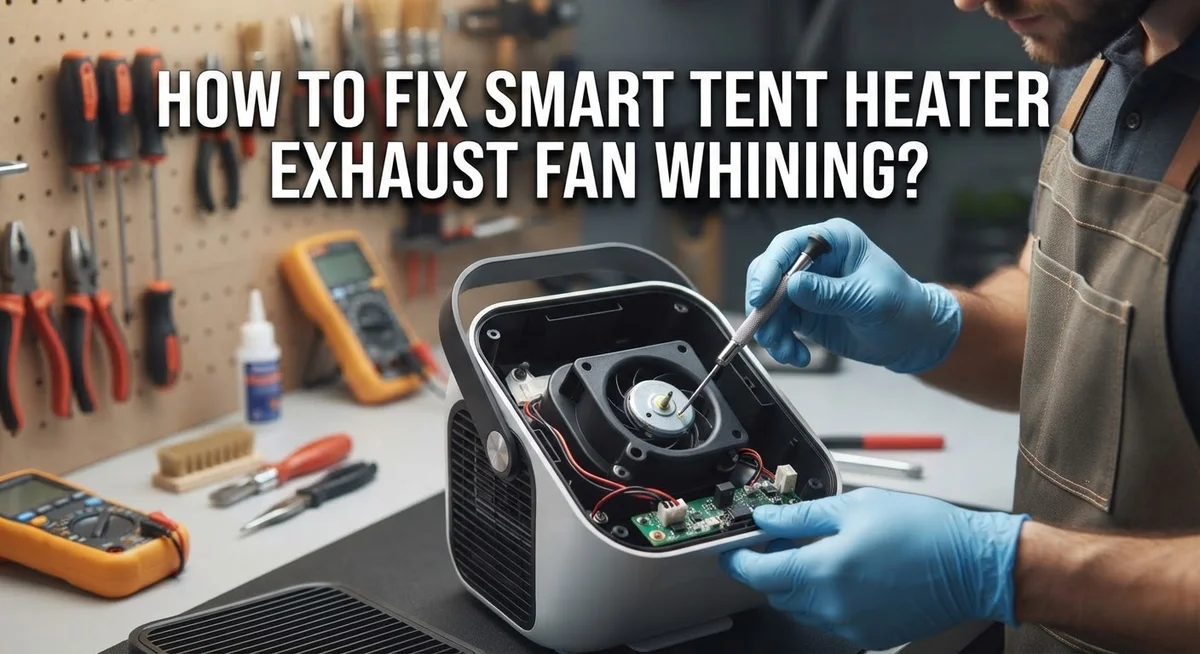
How To Fix Smart Tent Heater Exhaust Fan Whining?
That annoying whine from your smart tent heater exhaust fan can ruin a peaceful night outdoors. You settle into your tent, ready to relax, and then that high pitched sound starts. It’s distracting and makes you wonder if something is seriously wrong.
The good news is that fan whining rarely means disaster. Most of the time, it points to simple issues like dust buildup, misaligned blades, or worn bearings. These problems build up slowly, especially with regular use.
This guide walks you through everything you need to know. You will learn how to spot the real cause behind the noise. We cover step by step troubleshooting, from cleaning dust to checking the motor shaft for rough rotation.
In a Nutshell
- Dust buildup is the top cause of whining. Clean the fan blades and grille often to stop this noise before it starts.
- Check for misaligned blades. A simple realignment often fixes the whine without any extra parts needed.
- Worn bearings cause a rough, high pitched whine. Lubricate them if you can reach them, or plan for a replacement.
- Always unplug the unit first. Working on a powered fan is risky and can cause injury.
- A duct silencer helps muffle noise. Repositioning the exhaust pipe also cuts down on vibration.
- Don’t ignore early whining. It often signals bearing wear that gets worse over time.
- The whine itself is not usually dangerous. But it does mean your heater needs some attention soon.
- Regular cleaning and quick checks keep your fan running smoothly. This saves you from bigger repairs later.
What Causes Exhaust Fan Whining in Smart Tent Heaters
Your smart tent heater’s exhaust fan whines for specific reasons. Understanding these causes helps you fix the problem quickly and prevent future noise.
Dust buildup is the most common culprit. When dust accumulates on fan blades and inside the motor housing, it creates friction. This friction produces that high pitched whining sound you hear. The dust restricts smooth blade rotation and forces the motor to work harder.
Misaligned fan blades also trigger whining. Over time, blades can shift slightly out of position. When blades don’t spin perfectly straight, they hit the housing or rub against internal parts. This contact generates noise and puts stress on your fan assembly.
Worn bearings cause a different type of whining. Bearings support the motor shaft and allow smooth rotation. As bearings age or lack lubrication, they develop rough spots. The motor shaft experiences play or wobbling, which creates that grinding whine sound.
Loose components contribute to the noise too. Push nuts, fasteners, or blade attachments can loosen with vibration. Loose parts rattle and vibrate at certain speeds, producing whining sounds.
Improper exhaust pipe positioning amplifies whining. When your exhaust pipe vibrates against walls or tent fabric, it resonates and magnifies the noise. The vibration travels through the pipe, making whining sound louder than it actually is.
Motor shaft damage is less common but serious. If the shaft develops rough spots or bends slightly, rotation becomes uneven. This creates irregular whining that changes pitch or intensity.
Early whining signals that maintenance is needed soon. Don’t wait for the noise to worsen. Addressing these causes early prevents complete fan failure and keeps your tent heater running efficiently. Regular cleaning and inspections catch problems before they become serious.
Tools and Safety Precautions Before You Begin
Before you start fixing your smart tent heater exhaust fan, gather the right tools and take safety seriously. Your safety comes first, and having the correct equipment makes the job easier and faster.
Essential tools you will need include a screwdriver set with both Phillips and flathead options. You need a flashlight or headlamp to see inside the fan assembly clearly. A soft brush or old toothbrush helps remove dust from tight spaces. Compressed air works great for blowing out stubborn dust buildup. Keep a cloth nearby for wiping components clean. You may need an adjustable wrench if your fan has bolts instead of screws.
Safety precautions matter most. Always unplug your smart tent heater completely before touching any internal parts. Wait at least five minutes after unplugging to let any residual power discharge. Never work on the fan while the unit is plugged in, even if you think it is off. Electrical shock is a serious risk.
Prepare your workspace properly. Work in a clean, well lit area away from moisture. Lay down a cloth or newspaper to catch small parts and dust. Keep a container nearby for screws and fasteners so you do not lose them. Have your manual handy if you have it, as it shows your specific fan design.
Check your comfort level. If you feel unsure about any step, stop and consult the manufacturer’s instructions. Wearing safety glasses protects your eyes from dust particles. These simple preparations ensure you work safely and efficiently throughout the entire repair process.
Step-by-Step: Disassembling and Cleaning the Fan Assembly
Start by unplugging your smart tent heater from the electrical outlet. This step is non negotiable for your safety. Wait a few minutes to let any residual power drain completely.
Locate the exhaust fan grille on your heater unit. Most models have a front facing grille that pulls air through the system. Look for screws or clips holding it in place.
Remove the grille by unscrewing all fasteners carefully. Set them aside in a small container so you don’t lose them. Keep track of which screws go where if they differ in size.
Behind the grille, you will see the fan blade assembly. Take photos with your phone before disassembling anything. These photos become your reassembly guide later.
Locate the center bolt or nut holding the fan blade to the motor shaft. Use your screwdriver or wrench to loosen this fastener gently. Do not force it if it resists. Apply penetrating oil and wait a few minutes if needed.
Slide the fan blade off the shaft carefully. Inspect it for cracks, warping, or damage. Even small blade imperfections cause whining sounds.
Check the motor shaft for play or wobbling. Grab it gently and try moving it side to side. Excessive movement means bearing wear has occurred.
Examine the push nut or retaining clip on the shaft. This small component keeps everything aligned. A weak or damaged push nut causes blade misalignment and whining.
Look for dust accumulation around the motor housing and shaft area. Use a soft brush or compressed air to remove buildup gently. Do not use water or liquid cleaners near electrical components.
Inspect all internal components for visible damage before reassembly. Worn bearings appear rough or discolored. Motor shafts should spin freely without grinding sounds.
Realigning Blades and Replacing Worn Push Nuts
Realigning fan blades is one of the most effective ways to stop whining. When blades sit even slightly off center, they create vibration that produces that annoying high pitched sound. The good news is that realignment takes just a few minutes once you have the fan assembly exposed.
Start by examining how the blade sits on the motor shaft. Look closely at the gap between the blade and the housing on all sides. The spacing should be even. If one side appears closer than the other, the blade needs adjustment. Loosen the center bolt or nut slightly, just enough to allow the blade to move. Gently shift the blade until the gaps look uniform all around. Tighten the fastener again, but do not overtighten as this can damage the shaft.
Push nuts deserve special attention because they wear out over time. These small metal clips hold components in place on the motor shaft. A worn push nut loses its grip, allowing the blade to wobble slightly. This wobbling creates that whining noise you hear.
To replace a worn push nut, slide it off the shaft carefully. Take note of which direction it faces before removal. Purchase a replacement that matches the shaft diameter. Slide the new push nut onto the shaft in the same orientation as the original. Push it firmly until it seats properly against the shoulder on the shaft.
After realigning blades and replacing push nuts, rotate the fan by hand slowly. It should spin smoothly without catching or rubbing. Listen for any remaining noise. Most whining stops completely after these adjustments. If noise persists, the bearings may need lubrication or replacement.
Inspecting the Motor Shaft and Lubricating Bearings
Your smart tent heater’s motor shaft and bearings need regular inspection. These parts wear down over time and cause that annoying whining sound you hear.
Start by checking the motor shaft for any play or movement. Grab the fan blade assembly and try to wiggle it gently side to side. If the shaft moves too much, you have found part of your problem. A shaft with excessive play will rub against internal components and create noise.
Look closely at the shaft surface itself. You should see a smooth, clean metal rod. If the surface appears rough, scarred, or discolored, the shaft may need replacement. Rust or corrosion on the shaft also indicates moisture problems inside your heater unit.
Next, inspect the bearings that support the shaft. These small cylindrical parts allow smooth rotation. Bearings often sit at both ends of the motor shaft. Spin the shaft slowly by hand and listen for grinding sounds. Grinding means the bearings are worn and need lubrication or replacement.
If your heater design allows access to the bearings, apply a light machine oil to them. Use only a few drops. Too much oil attracts dust and makes things worse. Wipe away any excess with a clean cloth.
Rotate the shaft again after lubrication. The whining should decrease noticeably if the bearings were the issue. If whining persists after lubrication, the bearings may be too damaged to save.
Document what you find during inspection. Take photos if possible. This information helps you decide whether simple lubrication will fix the problem or if replacement parts are necessary. Proper bearing maintenance prevents future issues and keeps your exhaust fan running quietly.
Reducing Vibration and Noise With Duct Silencers and Pipe Positioning
Duct silencers work by absorbing sound waves as air moves through your exhaust system. They wrap around the ductwork and contain sound dampening material inside. This simple addition can reduce whining noise by 50% or more depending on your setup.
To install a duct silencer, measure your exhaust pipe diameter first. Slide the silencer over the duct section closest to your fan unit. Secure it firmly so air cannot escape around the edges. Position it before the air exits your tent for maximum noise reduction.
Pipe positioning matters just as much as silencers do. Vibration travels through rigid ducts and amplifies noise. When your exhaust pipe connects directly to the fan without support, every vibration becomes louder. Add flexible duct sections between the fan and rigid piping to break this vibration path.
Mount your exhaust pipe away from tent walls and frame components. Pipes touching metal or plastic surfaces transfer vibration into those materials, creating echo effects. Use soft rubber or foam clamps to hold pipes in place. These clamps absorb vibration instead of transmitting it.
Angle your exhaust duct slightly downward as it exits. This positioning helps condensation drain away from the fan motor. Moisture buildup can cause bearing friction, which increases whining sounds.
Check your duct connections every month. Loose connections vibrate more than secure ones. Tighten all clamps and joints to keep everything stable.
Combine these positioning techniques with a duct silencer for best results. You will notice the difference immediately after installation. The whining becomes a soft hum, and your tent stays warmer because less heated air escapes through gaps.
Mistakes to Avoid During Fan Maintenance
Many people make critical errors when maintaining their smart tent heater exhaust fan. These mistakes can worsen the whining noise or damage your equipment permanently.
Never attempt repairs while the unit is powered on. This is the most dangerous mistake you can make. Always unplug your heater before touching any internal components. Even a brief electrical shock can cause serious injury. Wait at least five minutes after unplugging to let the motor stop completely.
Ignoring early whining signs is another common error. Many people assume the noise will disappear on its own. In reality, early whining indicates that bearings are wearing out or dust is accumulating. Addressing the problem immediately prevents more serious damage later. Waiting too long means you may need to replace the entire motor assembly instead of just cleaning it.
Neglecting regular dust cleaning is equally problematic. Dust buildup happens faster than most people realize, especially in tent environments. Skipping cleaning sessions allows particles to accumulate deep inside the motor housing. This makes future cleaning much harder and increases wear on moving parts.
Don’t force components during disassembly. If something doesn’t slide off easily, stop and investigate. Forcing parts can strip threads or crack plastic housings. Take your time and work slowly through each step.
Avoid using incorrect tools for maintenance work. Using oversized wrenches or the wrong screwdriver types can damage fasteners. Invest in proper tools that fit your fan assembly correctly.
Finally, don’t skip the inspection step. Many people rush through maintenance without checking for visible damage. Spend a few minutes examining the motor shaft, bearings, and blade alignment. This simple habit catches problems before they become expensive repairs. Proper maintenance prevents frustration and extends your heater’s lifespan significantly.
When Whining Signals a Bigger Problem
A whining sound from your smart tent heater’s exhaust fan isn’t just annoying. It tells you something needs attention inside the fan assembly.
The whining usually means one of three things is happening. Dust buildup blocks airflow and forces the motor to work harder. Misaligned blades rub against the housing. Worn bearings lose their smooth rotation and create friction noise.
Early whining is your warning system. When you hear it, the problem is still small. Ignoring it lets the damage spread. A bearing that whines today becomes a seized bearing tomorrow. A slightly misaligned blade becomes a bent blade next week.
The good news is that whining rarely means your heater is about to fail. Most whining problems are fixable with basic cleaning and realignment. You don’t need emergency repairs. You do need to act within a few weeks though.
Sometimes the whining comes and goes. This intermittent pattern actually signals bearing wear. The noise appears when the motor works hard and disappears during light operation. This inconsistency means your bearings are degrading unevenly.
Pay attention to when the whining happens. Does it start immediately when you turn on the heater? Does it appear only after the unit runs for thirty minutes? Does it get louder over several days? These patterns help you identify which component is failing.
Document the noise pattern. Write down when you first heard it and how it changes. This information helps you decide whether to clean the fan yourself or seek professional service.
A whining fan needs maintenance soon, but not necessarily today. However, waiting more than two weeks risks permanent damage to your motor bearings.
Final Thoughts
Fixing a whining exhaust fan is easier than most people think. You don’t need special skills or expensive tools.
Start with the basics. Clean out dust regularly. Check for loose blades. Listen for changes in the sound.
Most whining problems come from three simple causes. Dust buildup blocks airflow. Blades shift out of alignment. Bearings wear down over time.
Regular cleaning solves many issues before they start. Make it part of your routine. Set a schedule and stick to it.
When whining begins, act quickly but calmly. Turn off your unit first. Never skip this safety step.
Inspect the fan assembly carefully. Look for obvious problems. Sometimes the fix is simple, like removing dust or tightening a part.
Duct silencers and proper pipe positioning make a real difference. They reduce vibration and noise together. Small adjustments often bring big improvements.
Your heater is giving you useful information through that whining sound. It tells you something needs attention. Listen to it instead of ignoring it.
Bearing wear sounds different from dust buildup. Learning these differences helps you respond correctly. Documentation over time reveals patterns.
Most whining issues don’t require professional help. You can handle cleaning, realignment, and basic lubrication yourself. Save calls to technicians for serious mechanical problems.
Remember that prevention beats repair every time. Regular maintenance keeps your exhaust fan running smoothly. This saves you time and frustration later.
Your smart tent heater deserves proper care. A little attention now prevents bigger headaches later. Keep your maintenance routine simple and consistent.
Whining fans are fixable fans. With the right steps, you’ll have a quiet, efficient heater again. Trust the process and take action when needed.
Frequently Asked Questions
Why does my exhaust fan make a whining sound?
Whining happens when dust builds up inside the fan or when internal parts wear down. Dust accumulation is the most common culprit. Over time, particles settle on the blades and motor components. This causes friction and creates that high-pitched noise you hear.
Misaligned fan blades also trigger whining. When blades shift out of position, they rub against the housing. Worn bearings represent another cause. As bearings age, they lose their smooth rotation ability.
Can I fix the whining myself?
Yes, most people can handle basic fixes without special skills. Start by unplugging your heater completely. Remove the grille and access the fan assembly.
Clean all dust thoroughly using a soft brush or cloth. Check if the blades are straight and properly positioned. If they’re bent or tilted, gently realign them.
Inspect the motor shaft for play or rough spots. Some bearings can be lubricated if you can access them safely. If you find a weak push nut, you may need to replace it.
Is a whining fan dangerous?
The noise itself isn’t dangerous, but it signals a maintenance need. Whining tells you something requires attention soon. Don’t ignore early warning signs.
The good news is that whining rarely means your heater will fail suddenly. You have time to address the problem. However, waiting too long can cause bigger damage to the motor.
How can I reduce the whining noise?
A duct silencer works well for noise reduction. This device absorbs sound as air moves through it. Repositioning your exhaust pipe also helps by minimizing vibration transfer.
Make sure pipes don’t touch walls or other surfaces directly. Vibration travels through contact points and amplifies noise.

Hello, i’m Ivoria i am the face behind Tech Tracker Blog. I am passionate about my work and love to explore gadgets and share about my experience.