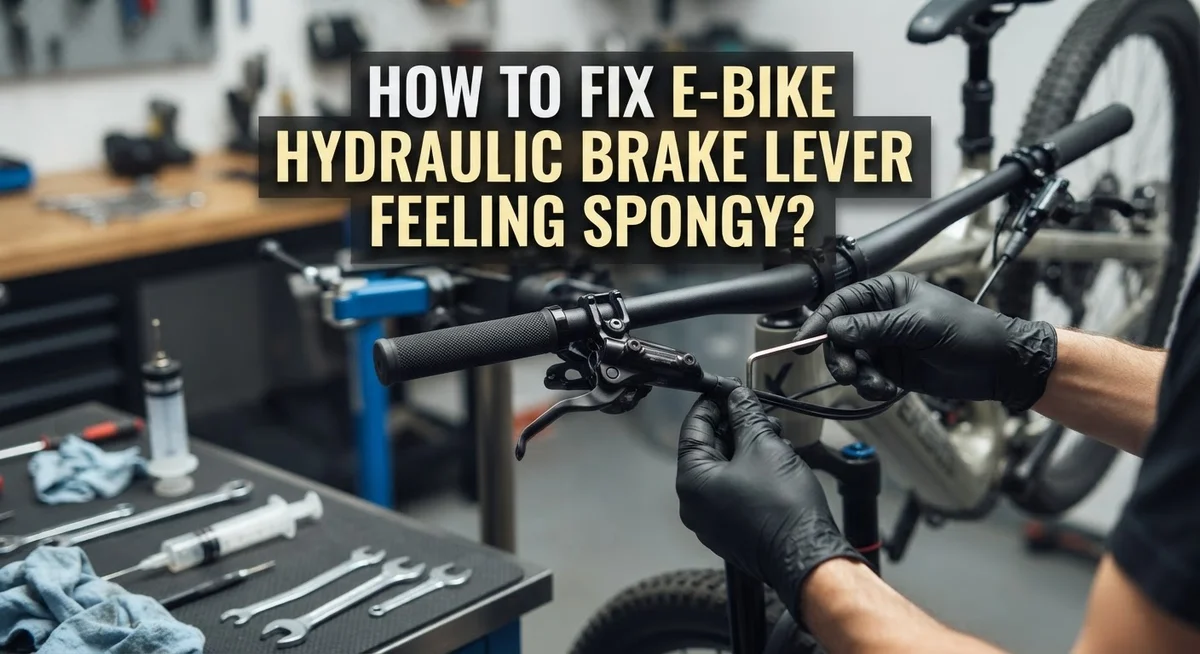
How To Fix E-Bike Hydraulic Brake Lever Feeling Spongy?
Do you feel your e-bike brake lever sink to the handlebar? That soft, mushy squeeze is scary. It also means your brakes are not stopping you as fast as they should.
A spongy brake lever almost always points to one thing. Air has snuck into your hydraulic brake lines. Sometimes low fluid or worn pads add to the problem too.
The good news is that you can fix this at home. You do not need to rush to a bike shop every time this happens.
This guide walks you through the exact reasons your lever feels soft. We will cover how air gets trapped inside your brake lines. You will learn why fluid levels matter so much for a firm brake feel.
In a Nutshell
- Air is the main culprit. A spongy lever almost always means air bubbles are trapped inside your brake lines. Bleeding the system pushes this air out and restores a firm feel.
- Check your fluid level first. Low hydraulic fluid causes the same soft, sinking feeling. Top it up with the correct fluid type before you do anything else.
- Inspect for leaks. Look closely at hoses, connections, and seals. A tiny leak can drain pressure fast and make bleeding pointless until it’s fixed.
- Test front and rear separately. One brake often feels worse than the other. Squeeze each lever on its own to find which system actually needs work.
- Worn pads matter too. Thin or uneven pads change how the lever feels. Check pad thickness and rotor alignment as part of your troubleshooting.
- Never skip the bleed step. Adding fluid alone without bleeding air won’t solve the problem. Always remove trapped air first, then refill and test.
What Causes a Spongy E-Bike Brake Lever
A spongy brake lever on your e-bike happens when something blocks the hydraulic system from working properly. Air bubbles trapped inside your brake lines are the most common reason. These bubbles compress instead of pushing fluid, so your lever sinks without giving you strong braking power.
Low hydraulic fluid creates the same mushy feeling. When the fluid level drops below the proper mark, air enters the system and fills the space. This happens gradually as you ride and use your brakes.
Leaking seals or damaged hose connections let fluid escape slowly. You might not see a puddle, but tiny leaks over time reduce the pressure your brakes need. Check where hoses connect to the lever and brake caliper first.
Worn brake pads affect lever feel too. Thin pads sit too far from the rotor, so the lever travels farther before the brakes grab. This extra travel feels spongy even if your hydraulic system works fine.
Rotor misalignment causes similar problems. If your rotor rubs on the brake pads unevenly, the system compensates by changing how the lever responds. The lever might feel soft in spots or inconsistent.
One brake often feels worse than the other. Your front brake might be spongy while your rear brake feels firm. This tells you the problem is isolated to one system, not your entire bike.
Check your brake pads first for visible wear. Look at your fluid level next. Then inspect both hoses for cracks or drips. These simple checks help you identify exactly which part needs fixing before you start the bleeding process.
Signs You’re Dealing With Air in the Lines vs Other Issues
Air in your brake lines and other issues create different warning signs. Learning to spot the difference saves you time and money.
Air bubbles trapped inside produce a spongy lever that gets worse the more you squeeze. The lever sinks deeper with each pump, then slowly returns. You might notice the brake feel changes day to day. Air compresses easily, so the sensation is mushy and unpredictable. This is your main clue that bleeding is needed.
Low hydraulic fluid feels similar but behaves differently. The lever stays soft even on the first squeeze. It does not improve after multiple pumps. The sinking happens immediately and stays consistent. You will notice the lever sits lower than normal when you release it.
Leaking seals or hose damage create a gradual problem. The lever starts firm but becomes spongy over several rides. You might see fluid drips on your brake rotor or wheel rim. The performance gets worse over time, not suddenly.
Worn brake pads affect lever feel in a specific way. The lever feels spongy only near the end of your squeeze. The first half of the lever stroke feels normal. Your pads may be visibly thin or uneven.
Rotor misalignment creates resistance without sponginess. The lever feels stiff, not soft. You hear rubbing sounds when the wheel spins.
Test each brake separately. Squeeze your front lever alone, then your rear lever. One brake is often the problem. This tells you exactly which system needs work. Air usually affects one brake before the other, so check them individually to confirm your diagnosis.
Tools and Fluid You’ll Need Before Starting
Before you start fixing your spongy brake lever, gather the right tools and supplies. You’ll need these items to complete the job properly.
Basic Tools Required
A bleed kit specific to your brake system is essential. This kit includes syringes, tubes, and connectors that fit your brake model. You’ll also need an adjustable wrench or Allen key set to remove brake calipers and levers. A clean rag or shop towels help you catch spilled fluid and keep your workspace tidy. Have newspaper or cardboard ready to protect your floor and bike frame.
Hydraulic Fluid Selection
Your brake system requires a specific fluid type. Check your brake manufacturer’s guidelines first. Common types include mineral oil, DOT 3, DOT 4, and DOT 5.1 fluid. Using the wrong fluid damages seals and creates bigger problems. Keep the correct fluid in a sealed container away from moisture and sunlight. Air and water contaminate hydraulic fluid quickly, so buy fresh fluid in small quantities.
Additional Supplies
A catch bottle or small container holds old fluid during the bleed process. Brake cleaner spray removes dirt and old fluid residue from components. You may need a small brush or soft cloth for cleaning tight spaces.
Safety Gear
Wear nitrile gloves to protect your skin from hydraulic fluid. Some fluid types irritate skin or cause allergic reactions. Safety glasses protect your eyes if fluid splashes. Work in a well ventilated area since some fluids produce fumes.
Organize everything on a clean work surface before starting. This prevents lost tools and spilled fluid during the repair.
Step-by-Step Guide to Bleeding Your E-Bike Hydraulic Brakes
Bleeding your e-bike hydraulic brakes removes air from the system and restores proper lever feel. This process takes patience but delivers reliable results.
Start by positioning your bike on a stable stand. Remove the wheel if your brake system requires it for access. Some designs let you bleed without wheel removal, so check your manual first. Position the brake lever at the highest point so air bubbles rise naturally toward the reservoir.
Locate your brake fluid reservoir. It sits near the brake lever on the handlebar. Open the reservoir cap carefully. You’ll see the fluid level inside. Some systems use a sight window for easy checking.
Attach your bleed kit to the brake caliper. The kit creates a sealed connection between the caliper and a collection bottle. This prevents air from entering while old fluid exits. Follow your specific brake system’s instructions for kit attachment, as designs vary.
Slowly squeeze the brake lever multiple times. Each squeeze pushes fluid through the system and forces air out. Watch for bubbles entering the collection bottle. Continue squeezing until bubbles stop appearing and only clear fluid flows out.
Add fresh hydraulic fluid to the reservoir as the level drops during bleeding. Use only the correct fluid type for your brake system. Never mix fluid types or use the wrong specification.
Close all connections carefully once bleeding finishes. Reinstall your wheel and test the brakes gently in a safe area. The lever should feel firm and responsive now. If sponginess returns quickly, air may still be trapped deeper in the lines, requiring a second bleed cycle.
Checking Fluid Levels and Topping Off Correctly
A spongy brake lever often signals low hydraulic fluid or air trapped in your system. Checking your fluid level is a quick first step that takes just a few minutes.
Start by positioning your e-bike on a stable stand. Locate your brake fluid reservoir, which sits near your brake lever on the handlebar. Most reservoirs have a clear plastic body so you can see the fluid level inside without opening it.
Look for the minimum and maximum line marks on your reservoir. Your fluid should sit between these two marks. If the level drops below the minimum line, that’s likely why your lever feels spongy. Low fluid reduces pressure in your brake lines and creates that mushy feeling when you squeeze.
Before topping off, inspect the area around your reservoir and brake lines for any visible leaks. Check the rubber seals and connection points. If you spot fluid dripping or wet spots, you have a leak that needs fixing before adding more fluid.
When you’re ready to add fluid, use only the correct type for your brake system. Check your e-bike manual or brake manufacturer’s instructions to identify the right fluid. Using the wrong type damages seals and reduces braking performance.
Open your reservoir carefully and pour fluid slowly until it reaches the maximum line. Avoid overfilling, as excess fluid can damage your brake system. Replace the reservoir cap securely.
After topping off, squeeze your brake lever several times to distribute the new fluid. If sponginess persists after topping off, air is likely still trapped in your lines. This means you’ll need to bleed your brakes to remove those air bubbles completely.
Inspecting Brake Lines, Seals, and Connections for Leaks
A spongy brake lever often points to air in your hydraulic lines or leaks in your system. Finding these problems requires a careful inspection of your brake lines, seals, and connections.
Start by examining your entire brake line from the lever to the caliper. Look for any cracks, splits, or visible damage along the rubber or metal tubing. Hydraulic fluid leaks appear as dark wet spots or residue on the line surface. Pay special attention to areas where the line bends or connects to other components, as these spots experience more stress.
Next, inspect all connection points where brake lines attach to the lever, caliper, and reservoir. Tighten any loose fittings gently using the appropriate wrench. Do not over tighten, as this can damage the connection. Check the rubber seals around each connection for signs of wear, cracking, or discoloration. Worn seals allow air to enter your system and create that spongy feeling.
Look at the brake caliper itself for leaks around the piston area. A small amount of fluid seeping from the caliper indicates failing internal seals that need attention. Check both your front and rear brakes separately. One brake system may have a leak while the other remains fine. This helps you identify which brake needs repair.
Inspect your reservoir cap and surrounding area for cracks or loose seals. The cap must seal properly to prevent air from entering your system. If you find no visible leaks after this inspection, air is likely trapped inside your lines. This means you should proceed with bleeding your brakes to remove trapped air and restore proper lever feel.
Why One Lever Feels Spongy While the Other Feels Fine
When only one brake lever feels spongy while the other works perfectly, the problem is isolated to that specific brake system. Your front and rear brakes operate independently, so they can develop issues at different times.
Air trapped in one brake line is the most common culprit. Even a small air bubble in the hydraulic fluid reduces pressure on that lever alone. The other brake remains firm because its system stays sealed and air free.
Low fluid in one brake reservoir also causes this problem. Check both reservoirs separately. One may have dropped below the minimum line while the other stays full. This happens when seals wear unevenly or when one brake system has a slow leak.
Worn brake pads on one side can create a spongy sensation too. As pads thin out, the caliper piston extends further to reach the rotor. This extra distance makes the lever feel softer even though the system holds pressure properly.
Leaking seals or loose connections affect only the brake they’re on. Inspect the spongy brake’s caliper, connections, and reservoir cap carefully. Look for fluid drips or wet spots around these areas.
The key is treating each brake independently. Don’t assume both brakes need bleeding just because one feels wrong. Bleed only the spongy brake first. Check its fluid level separately. Inspect its lines and connections individually.
This targeted approach saves you time and helps you identify exactly where the problem lives. Once you fix the spongy brake, test both levers again. They should feel equally firm and responsive.
Common Mistakes That Make Spongy Brakes Worse
Many riders make mistakes that actually make their spongy brakes worse. Understanding these errors helps you avoid creating bigger problems.
Filling fluid without bleeding air first is a common mistake. You might think adding more hydraulic fluid solves everything. However, if air is already trapped in your lines, simply topping off won’t help. The air bubble stays there, and your lever still feels mushy. Always bleed your brakes before adding new fluid. This removes the air first, then you can refill properly.
Ignoring which brake feels spongy causes unnecessary work. Some riders assume both brakes have the same problem. In reality, only your front or rear brake might need attention. One brake system can work perfectly while the other has issues. Check each brake separately. Squeeze your front lever alone, then test your rear lever independently. This tells you exactly which system needs fixing.
Not checking pad wear or rotor alignment wastes your troubleshooting time. Worn brake pads can create a spongy feeling that mimics air in the system. A misaligned rotor also affects how your lever responds. Before you start bleeding brakes, inspect your pads for thickness. Look at your rotor to see if it rubs on one side. These simple checks often reveal the real culprit.
Continuing to ride with spongy brakes makes damage worse. Pushing fluid through an already compromised system can damage seals and connections. Stop riding and fix the problem immediately. Your safety depends on responsive brakes.
These mistakes seem small, but they create bigger headaches later.
Final Thoughts
A spongy brake lever is annoying, but it’s fixable. Most causes are simple: air in the lines, low fluid, or worn pads.
You don’t need to be an expert to solve this problem. You just need patience and a clear process.
Start by checking each brake separately. This helps you find the exact source of the problem instead of guessing.
Bleeding your brakes is often the final step that solves spongy lever issues. Air pockets hide inside hydraulic lines, and bleeding pushes them out completely.
Remember to use the correct fluid type for your specific brake system. Mixing fluids can damage seals and create bigger problems than the spongy feel you started with.
Take your time during each step. Rushing through fluid checks or bleeding often leads to mistakes that bring the spongy feeling right back.
If you’ve tried these fixes and the lever still feels soft, something deeper might be wrong. A damaged seal or a failing caliper could be the real issue.
In that case, a trip to a bike shop makes sense. Professional tools can diagnose problems that are hard to catch at home.
Regular maintenance keeps this issue from coming back. Check your fluid levels often, and inspect your lines for wear before problems start.
Your brakes are one of the most important safety features on your e-bike. A firm, responsive lever gives you control when you need it most.
Don’t ignore a spongy feeling and hope it goes away. Fix it early, ride confidently, and enjoy smoother, safer stops every time you hit the brakes.
Frequently Asked Questions
What does a spongy brake lever actually mean?
A spongy brake lever feels soft or mushy when you squeeze it. Instead of firm resistance, your finger travels too far before the brake engages. This happens because air bubbles are trapped in your hydraulic lines or your fluid pressure has dropped. The brake system needs solid pressure to work properly, and air compresses easily while fluid does not.
Why is only my front brake spongy but the rear feels fine?
Each brake system works independently. Your front and rear brakes have separate lines, fluid reservoirs, and pistons. If only one feels spongy, that specific brake has the problem. Air may be trapped in just the front line, or the rear reservoir has better fluid levels. Check each brake separately to pinpoint exactly which one needs fixing.
Can I just add more brake fluid to fix the spongy feeling?
Adding fluid without bleeding air first won’t solve the problem. In fact, it can make things worse. You must remove the air bubbles first, then refill to the correct level. Topping off fluid while air remains inside means your brakes still won’t feel solid. Bleed the brakes to push out trapped air, then check your fluid level and adjust as needed.
How often should I bleed my e-bike brakes to prevent this issue?
Regular bleeding keeps your brakes responsive and prevents spongy levers from developing. Most riders benefit from bleeding their brakes once or twice per year. If you ride frequently or in wet conditions, consider bleeding more often. Proper maintenance stops problems before they start and keeps your braking power consistent.

Hello, i’m Ivoria i am the face behind Tech Tracker Blog. I am passionate about my work and love to explore gadgets and share about my experience.