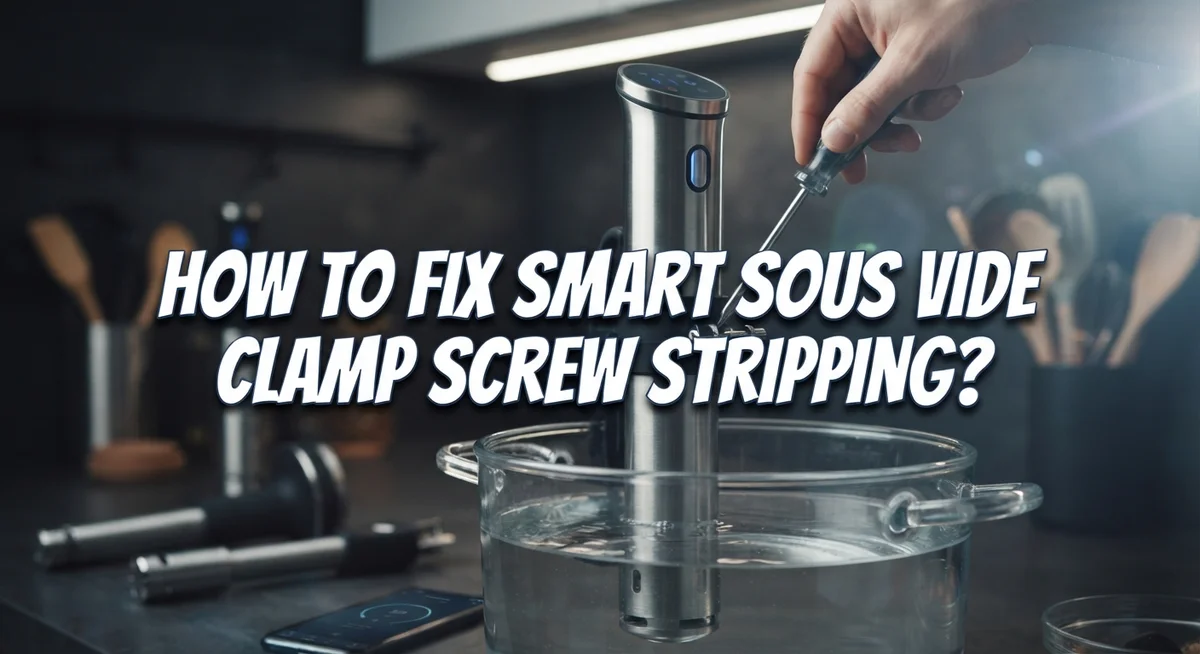
How To Fix Smart Sous Vide Clamp Screw Stripping?
Does your sous vide clamp feel loose? Do you notice your device wobbling in the pot? You are not alone.
Many sous vide owners face this exact problem. The clamp screw strips over time. This happens because of vibration and device droop.
Your cooker sits at an angle. This creates constant movement against the pot wall. Soon, the screw threads wear down. The clamp cannot hold tight anymore.
In a Nutshell
- Stripped screws often come from vibration. Device droop causes shaking. This shaking loosens the clamp over time.
- Over tightening makes things worse. Many people twist screws too hard. This wears out the threads faster.
- DIY fixes work well. A hose clamp paired with a C clamp can hold your device steady. This combo costs very little.
- Broken parts can sometimes get repaired. If the holder snapped cleanly, epoxy or strong adhesive may fix it. Check the break first before applying glue.
- Alignment prevents future problems. Make sure your cooker sits straight in the pot. Good alignment stops vibration before it starts.
- You are not the only one dealing with this. Many sous vide owners report the same screw stripping issue. Online forums show this problem happens often.
- Watching your clamp tension helps. Check it during cooking sessions. Catching looseness early saves you from bigger repairs later.
Why Sous Vide Clamp Screws Strip in the First Place
Sous vide clamp screws strip because your device experiences constant movement inside the pot. Vibration is the main culprit here. When your cooker sits at an angle or doesn’t mount perfectly straight, it rocks back and forth during operation. This rocking motion loosens the screws gradually until they lose their grip completely.
The impeller cap sits on top of your device. When vibration happens, this cap shifts slightly with each tremor. The clamp screws that hold it in place experience repeated stress from this movement. Eventually, the threads inside the screw holes wear down and strip. The screw spins freely without catching anything.
Over tightening makes this problem much worse. Many people assume tighter screws mean better security. They crank down hard during assembly. This actually damages the threads faster. The metal gets compressed and weakened. When vibration starts, stripped threads fail even sooner than normal.
Water temperature and heat cycles also play a role. Your device expands and contracts as it heats up and cools down. This thermal expansion puts extra stress on the clamp connection. The screws loosen a tiny bit with each cycle. After hundreds of heating sessions, that small loosening adds up.
Poor initial alignment creates the foundation for this problem. If your sous vide doesn’t sit perpendicular to the pot bottom, it wobbles more. Wobbling increases vibration intensity. Vibration accelerates screw stripping. This is why mounting position matters so much.
The design itself has limitations. Most sous vide clamps use relatively small screws. These screws weren’t engineered to handle constant vibration from a device sitting in turbulent water. The combination of water movement, heat, and device weight creates stress that standard screws struggle to manage long term.
Understanding these causes helps you prevent future stripping and choose the right repair method for your situation.
Signs Your Clamp Screw Is Stripped or About to Fail
Your sous vide clamp screw shows specific warning signs before complete failure happens. Recognizing these signals helps you catch problems early.
Listen for grinding sounds when you tighten the screw. This noise means the threads no longer grip properly. The screw spins without catching the metal inside the hole. You might feel resistance that suddenly disappears, then returns. This on and off sensation indicates thread damage.
Check if your screw sits loose after tightening. A properly secured clamp stays tight during cooking. If you tighten it and the screw slowly loosens within minutes, the threads are failing. You may need to re tighten multiple times during a single cooking session.
Look for visible gaps between your clamp and the pot rim. When screws strip, they cannot pull the clamp down evenly. One side stays tight while the other side lifts away from the pot. Your device may tilt or sit at an odd angle.
Feel for excessive wobbling or movement. Grab your cooker gently while it runs. A properly clamped device should not move at all. Stripped screws allow side to side motion or vertical bouncing. This vibration damages the threads further with each cooking cycle.
Observe if the clamp head spins freely without holding. When you turn the screw handle, it should create resistance. If it spins like an empty bolt, the threads have completely failed. The screw no longer engages with the hole.
Watch for water leaking around the clamp area. A loose clamp allows water to seep into connection points. This moisture speeds up corrosion and makes stripping worse.
These signs appear progressively. Early detection means you can act before your cooker falls into the pot. Address loose clamps immediately to prevent complete failure during cooking.
Step-by-Step: The Hose Clamp and C-Clamp Fix
This dual clamp method works because it uses two separate holding points instead of relying on one stripped screw. Your sous vide device gets support from both the side and top, which distributes pressure evenly.
Start by gathering your materials. You need a hose clamp (the metal band type with a screw mechanism) and a C clamp (the metal clamp shaped like the letter C). Both items cost very little and work with most pot sizes.
Position your hose clamp first. Slide it around the outside of your pot, positioning it just below the rim where your sous vide device normally sits. The hose clamp wraps around the pot’s exterior wall. Tighten the screw on the hose clamp until it feels snug but not overly tight. This clamp holds your device from the side.
Next, add the C clamp. Place the C clamp over the top of your pot rim and tighten it down gently. The C clamp presses down from above, keeping your sous vide device stable. Make sure the C clamp does not interfere with your pot’s lid or any heating elements.
Adjust both clamps together. Tighten them in small turns, alternating between each one. This balanced approach prevents uneven pressure that could damage your device or pot. Check that your sous vide cooker sits level and does not wobble.
Test the setup before cooking. Run your device for a few minutes without food to ensure everything stays secure. Listen for any unusual sounds or movement. If you notice wobbling, tighten the clamps slightly more.
This temporary solution keeps your device stable while you decide on a permanent repair or replacement.
Repairing a Cleanly Broken Clamp Holder with Adhesive
When your clamp holder breaks cleanly, adhesive repair becomes a practical solution. This approach works best when the break is straight and the pieces fit together without gaps.
Start by examining the break closely. A clean break means the two pieces separate along a straight line without crumbling or splintering. If the break is jagged or has missing pieces, adhesive repair will not hold under cooking stress.
Clean both broken surfaces thoroughly. Use warm water and a soft brush to remove any mineral deposits or residue. Dry the pieces completely with a clean cloth. Water and debris prevent adhesive from bonding properly.
Select an adhesive rated for kitchen use and heat resistance. Two-part epoxy works well for this repair because it cures hard and withstands temperature changes. Some adhesives work better on plastic, others on metal. Check what material your clamp holder uses before choosing your adhesive.
Apply adhesive according to the product instructions. Typically, you mix two parts together and apply a thin, even layer to both broken surfaces. Press the pieces together firmly and hold them in position. Wipe away excess adhesive with a damp cloth before it hardens.
Clamp or brace the repair while it cures. Use rubber bands, a C clamp, or tape to hold the pieces aligned. The curing time varies by product, often taking 24 hours for full strength.
Test the repair before using your sous vide device. Apply gentle pressure to the repaired area to confirm it holds. If the bond feels solid and shows no movement, the repair is ready.
This adhesive method works as a temporary or permanent fix depending on your break severity. Monitor the repair during cooking. If stress causes the bond to fail, switch to the hose clamp and C clamp backup method for continued use.
Correct Mounting Technique to Reduce Vibration and Droop
Proper mounting alignment is your first defense against clamp screw stripping. When your sous vide device sits crooked or tilted on the pot, vibration increases dramatically. This movement stresses the clamp screws and accelerates thread damage.
Start by positioning your device straight and level on the pot rim. The clamp should rest flat against the pot edge with no gaps underneath. If you see daylight between the clamp and rim, your device is not seated properly. Adjust the pot position or the device angle until full contact occurs.
Check that your pot rim is clean and dry before mounting. Moisture or food residue creates a slippery surface that allows the device to shift during cooking. Wipe the rim thoroughly with a cloth. A clean, dry surface helps the clamp grip securely without slipping.
Tighten the clamp screw gradually and evenly. Resist the urge to crank it down hard in one motion. Over-tightening accelerates thread stripping and damages the holder. Instead, turn the screw a quarter turn at a time. Stop when you feel solid resistance. The clamp should not move, but the screw should still turn smoothly.
During your first few minutes of operation, watch for vibration or movement. Place your hand gently on the device while it runs. If you feel excessive wobbling, stop and retighten slightly. Vibration often increases as water heats up, so monitor the setup during the warm-up phase.
Inspect the mounting point weekly. Tighten the screw if it has loosened. Regular small adjustments prevent major problems. This simple habit catches issues before screws strip completely.
Proper alignment reduces vibration stress on threads. Clean surfaces improve grip. Gradual tightening protects the screw mechanism. These three steps work together to keep your clamp secure and functional throughout your cooking sessions.
Common Mistakes That Make Stripping Worse
Over-tightening screws is the fastest way to destroy your clamp threads. When you force the screw down hard, you crush the metal threads inside the holder. Once those threads are damaged, they cannot grip properly anymore.
Many people think tighter equals safer. This is wrong. A screw only needs enough tension to hold your device steady. Extra force just accelerates damage.
The vibration problem gets worse when you over-tighten. Your sous vide device naturally creates small vibrations during operation. If the screw is cranked too tight, it cannot absorb these tiny movements. Instead, the threads get stressed repeatedly until they strip completely.
Ignoring early droop signs is another critical mistake. When your device starts to sag or tilt slightly, this is your warning signal. Many people continue using it anyway. The droop creates constant vibration against the clamp screw. Each day of use causes more damage to the threads.
You should check your mounting point weekly. A loose screw is actually better than an over-tight one. A loose screw can be gently retightened. An over-tight screw has already damaged the threads beyond repair.
Another mistake is using the wrong tool to tighten. A power drill or impact driver can tighten a screw far too much in seconds. Hand tightening with a regular screwdriver gives you better control. You feel the resistance and stop before damage occurs.
Stop using your device immediately if you notice wobbling or unusual noise. These signs mean the clamp is failing. Continuing to use it will destroy the threads completely.
The key principle is simple: gentle and gradual wins. Tighten slowly. Check alignment. Listen for vibration. Inspect regularly. These habits prevent most stripping problems before they start.
Ongoing Maintenance and Tension Monitoring Tips
Regular monitoring keeps your sous vide clamp working properly. Check your mounting point at least once weekly to catch problems early before they become serious.
Start by looking at the clamp screw itself. Turn it slightly with your tool to feel if it moves smoothly or if you sense grinding or resistance. Grinding means the threads are already damaged. Smooth turning means your clamp is still in good shape.
Watch for vibration during operation. Place your hand gently on the device while water heats up. Feel for shaking or movement side to side. Any vibration means tension is slipping. Stop and retighten immediately using gentle pressure only.
Check the pot rim where the clamp sits. Debris, water residue, or food particles create gaps that cause droop. Wipe the rim dry before each use. A clean contact point reduces vibration stress on your threads.
Monitor the device angle throughout cooking. Your sous vide should sit perfectly level and straight. Tilt or sagging means the clamp is loosening. This is your signal to tighten gently before continuing.
Keep a maintenance log if you cook frequently. Write down the date you tighten the screw and any vibration you notice. This helps you spot patterns. If you retighten weekly, your clamp may be wearing out faster than normal.
Listen for unusual sounds during operation. Rattling or clicking means something is loose. High pitched grinding means thread damage is happening now. Stop immediately and inspect.
Tension should stay firm but never tight. The goal is secure holding with minimal force. Think of it like holding an egg. You want it safe but not crushed.
Replace your clamp screw if it becomes difficult to turn or if you feel metal particles. Damaged threads cannot be saved. A fresh screw costs little and prevents complete clamp failure.
Final Thoughts
A stripped clamp screw feels like a big problem. But it rarely means your device is done.
Most fixes take less than ten minutes. A hose clamp and C clamp combo solves the issue for many users. This gives your device a stable second layer of support.
If the plastic holder has a clean break, adhesive repair works well too. Epoxy bonds the pieces back together firmly. This can restore full function in many cases.
Stripping usually happens for one simple reason. Vibration from an unstable mount wears down the threads over time. Once you understand this, prevention becomes much easier.
Good habits protect your device long term. Align your mount correctly every time you use it. Tighten screws slowly instead of forcing them tight.
Check your equipment often, especially after weeks of regular use. Catching small issues early stops them from becoming bigger problems. A quick weekly glance saves you real trouble.
Remember that this is a known issue across many Anova community forums. You are not alone if this happens to your device. Many users have faced the same frustration and found working solutions.
The fixes here are simple and low cost. You do not need special tools or expensive parts. A little patience and the right technique go a long way.
Think of this as routine maintenance, not a major repair. Small mechanical wear is normal for any kitchen tool used often. Your sous vide device is no exception.
With the right approach, your clamp can last for many more cooking sessions. Pay attention to warning signs like wobbling or unusual noise. Address them quickly and calmly.
Your device deserves proper care to perform well. Small fixes now prevent bigger headaches later. Keep these tips handy for smooth, worry free cooking ahead.
Frequently Asked Questions
Can a stripped clamp screw be fixed without replacing the entire device?
Yes, you can fix this yourself. Stripped clamp screws don’t mean your sous vide is broken. You have several repair options that work well.
The easiest fix uses a hose clamp combined with a C clamp. This holds your device securely without relying on the damaged threads. Most people complete this repair in under ten minutes.
If your plastic holder has a clean break, adhesive repair is another option. Apply food-safe epoxy to the broken edges and let it cure fully before using your device again.
Why do clamp screws strip in the first place?
Vibration causes most clamp stripping issues. When your device isn’t mounted properly, it bounces slightly during operation. This constant movement wears down the screw threads over time.
Device droop is the main culprit. When your sous vide sags or tilts, the clamp works harder to stay secure. The vibration gets worse, and the threads fail faster.
Over-tightening makes this problem worse. Tight screws can’t absorb vibration smoothly, so they break down quicker.
How do I know if my clamp screw is actually stripped?
A stripped screw feels different when you turn it. You’ll notice the screw spins loosely without tightening the clamp. There’s no resistance like you’d feel with a normal screw.
You might also see metal particles or feel grinding when turning the screw. The clamp may feel wobbly even when you try to tighten it.
Listen for unusual sounds during cooking. Rattling or clicking often signals a failing clamp.
What’s the best way to prevent this problem?
Check your mounting alignment every time you use your device. Make sure your sous vide sits level and doesn’t tilt.
Monitor for early warning signs. Watch for slight droop or vibration during operation. Catch these issues early before they damage your clamp.
Keep screw tension firm but gentle. Never force the screw tight. The goal is secure holding with minimal pressure.

Hello, i’m Ivoria i am the face behind Tech Tracker Blog. I am passionate about my work and love to explore gadgets and share about my experience.