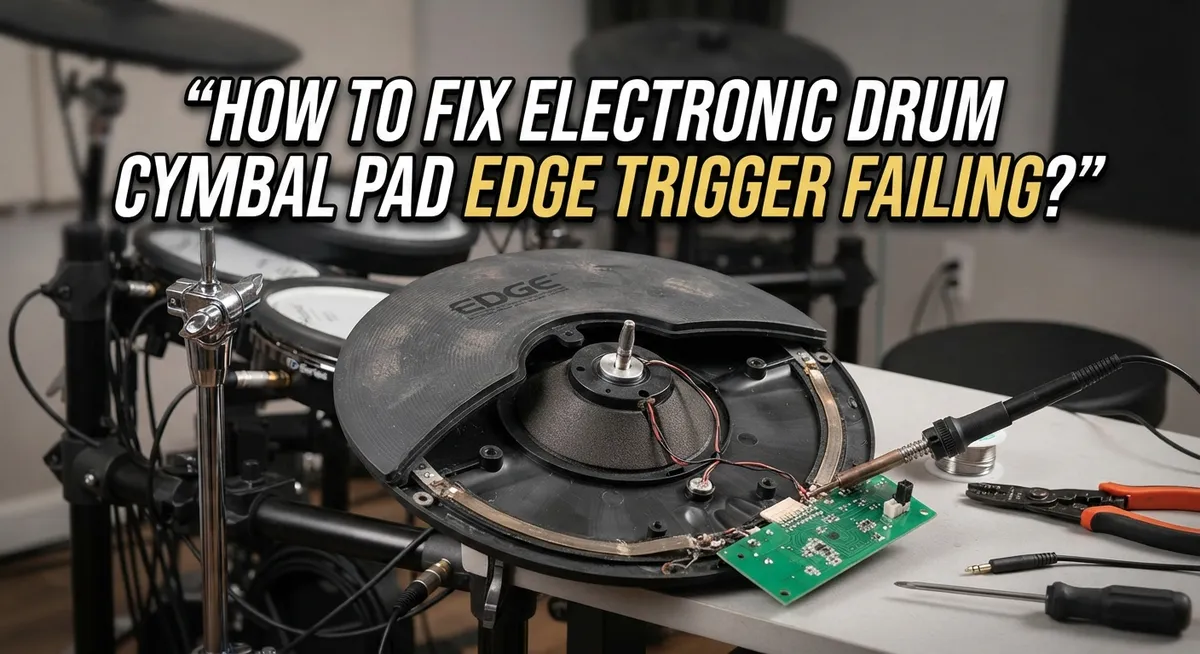
How To Fix Electronic Drum Cymbal Pad Edge Trigger Failing?
Your electronic drum cymbal pad suddenly stops sensing edge hits. You strike the rim, but nothing happens. This glitch can throw off your whole practice session or performance.
Edge trigger failure is a common problem for electronic drum players. It usually points to a few simple culprits. Loose cables, debris buildup, and sensor issues top the list.
The good news? You can often fix this yourself. No need to rush out and buy a new pad right away.
This guide walks you through the most likely causes of edge trigger failure. We cover everything from checking cable connections to cleaning rubber debris off your sensors.
In a Nutshell
- Check your cables first. Loose or damaged cables cause most edge trigger problems. Swap in a spare cable to test this quickly.
- Clean the sensor area. Rubber debris often builds up around the cymbal edge. This blocks the sensor from detecting hits properly.
- Inspect multi-zone contacts. Dirty contacts on multi-zone sensors can stop edge signals from reaching your module. A gentle clean often solves this.
- Try a factory reset. Software glitches sometimes mimic hardware failure. A reset rules out configuration errors before you replace anything.
- Test the center zone. If your pad still senses center hits, the whole pad has not failed. This points to a specific edge sensor issue.
- Avoid rushing to replace parts. Many drummers assume the pad is broken. Testing first saves you money and time.
Understanding How Cymbal Edge Triggers Work
Electronic drum cymbal pads use special sensors to detect where you hit them. Your pad can sense hits in different zones: the center, the edge, and sometimes the bow area. Each zone sends a separate signal to your drum module.
The edge trigger is the sensor that detects when you strike the outer rim of the cymbal pad. This zone lets you play realistic cymbal sounds like edge clicks and bell tones. Without a working edge trigger, your pad only responds to center hits.
Here is how the system works. A multi zone sensor sits underneath your cymbal pad. This sensor has multiple contact points. Each point corresponds to a different striking zone. When you hit the edge, that specific sensor activates and sends a signal through your cable to the drum module.
Your drum module then receives this signal and plays the edge sound you programmed. The whole process happens in milliseconds. This is why edge triggers feel so responsive when they work properly.
The edge trigger relies on a clean electrical connection. Rubber material from the pad’s playing surface can break down over time. This debris accumulates around the sensor area. When debris builds up, it blocks the signal from reaching the contact points. Your module never receives the edge trigger message, so no sound plays.
Cables also play a critical role. They carry the signal from your pad sensor to the drum module. A loose cable connection interrupts this signal path. Even a partially seated cable can cause intermittent edge trigger failures.
Software also matters. Your drum module stores settings for each pad zone. Sometimes these settings get corrupted. When this happens, the module might ignore edge trigger signals even though your hardware works fine.
Understanding these three elements helps you troubleshoot effectively. You now know that edge triggers depend on clean sensors, solid cable connections, and correct software settings.
Common Causes of Edge Trigger Failure
Loose cables are the most common reason edge triggers fail on electronic drum cymbals. When the connection between your pad and module becomes loose, the edge sensor signal cannot reach your drum brain. This happens because vibrations from playing gradually loosen connectors over time.
Damaged cables cause edge trigger problems too. If a cable gets pinched, bent sharply, or stepped on, the internal wires break. The pad may still work for center hits, but edge signals get blocked. You might notice crackling sounds before complete failure.
Rubber debris builds up around the cymbal edge during normal play. Small pieces of rubber from the pad material accumulate on sensor contacts. This debris creates a barrier that prevents the edge trigger from sending clean signals to your module. The more you play, the more buildup occurs.
Dirty multi-zone sensor contacts stop edge signals from transmitting properly. Dust and grime coat the connection points where the edge trigger meets the main sensor assembly. Even a thin layer of contamination can block electrical flow to your drum module.
Software configuration errors sometimes mimic hardware failure. Your module might lose the edge trigger settings after a power surge or accidental button press. The hardware works fine, but the software no longer recognizes edge zone hits as valid input.
Corrosion develops on metal connector pins when moisture enters the cable or pad housing. Salty sweat from your hands accelerates this process. Corroded pins create weak connections that work intermittently, making edge triggers unreliable.
Worn sensor pads inside the cymbal deteriorate after thousands of impacts. The rubber material compresses and hardens, reducing sensitivity to edge strikes. This gradual degradation happens to all pads eventually through normal use and aging.
Step-by-Step: Diagnosing the Problem
Start by testing whether your edge trigger actually fails or if another part of the system causes the problem. This step saves you time and money.
First, hit the center of your cymbal pad hard. Listen for the sound. If the pad responds with a center hit, your pad itself works. The problem is specific to the edge zone. If nothing happens at all, your entire pad may have failed.
Next, disconnect the cable from your cymbal pad at both ends. Look inside the connector ports. You should see clean metal pins or contacts. Debris, corrosion, or bent pins indicate a connection problem. Gently inspect the cable itself for visible damage like cracks or pinches.
Reconnect the cable firmly at both the pad and the drum module. Push until you hear or feel a click. Many edge trigger failures happen because cables sit loose in their ports.
Now test again. Hit the edge of your cymbal pad. Does it work? If yes, your problem was just a loose connection. If no, move forward.
Swap your cymbal cable with a known working cable from another pad on your kit. Use the spare cable on your problem cymbal pad. Test the edge zone again. If the edge trigger now works, your original cable is damaged. If the edge trigger still fails, the issue lives in the pad itself or the drum module.
Check your drum module’s display or software. Some modules show which zones register hits. Watch the screen while you hit the cymbal edge. If the module shows no edge signal, you have confirmed the pad or cable is the problem.
Write down your findings. You now know whether the issue is a cable, connector, or the pad itself. This information guides your next repair steps.
Fixing Cable and Connection Issues
Cables and connections are often the culprits behind edge trigger failures. Start by inspecting every cable connected to your cymbal pad. Look for visible damage like cuts, bends, or exposed wires. Even small damage can interrupt the signal between your pad and drum module.
Disconnect and reconnect all cables firmly. Many drummers skip this step, but loose connections cause most edge trigger problems. Remove the cable from both the cymbal pad and your drum module. Wait a few seconds. Push the cable back in until you hear or feel it click into place. Apply gentle pressure to ensure a solid connection on both ends.
Test your pad after reconnecting. If the edge trigger still fails, try a different cable. Swap your cymbal cable with a working cable from another pad on your kit. This test isolates whether your cable is the problem or if the pad itself has failed. If the edge trigger works with the spare cable, you found your issue. If it still fails, the problem lies elsewhere in the system.
Check cable connectors for dirt and debris. Dust and rubber particles accumulate inside connectors over time. These particles block electrical contact. Gently blow into the connectors or use a clean, dry cloth to wipe the metal pins. Never use liquids or compressed air that might force debris deeper into the connection.
Inspect the connector ports on both your pad and drum module. Look for bent pins or loose sockets. If you notice damage, the connector may need replacement. Some drum modules allow you to replace just the connector without replacing the entire pad.
Cable problems are quick and affordable to fix. Always test cables first before assuming your pad is broken. This simple approach saves time and money.
Cleaning Sensors and Removing Rubber Debris
Rubber debris and sensor contamination are major reasons your edge trigger stops working. When you play your cymbal repeatedly, small rubber particles break off from the pad material and collect around the sensor area. This buildup blocks the electrical signal from reaching the trigger contact.
Start by visually inspecting the cymbal pad edges. Look closely at where the rubber meets the metal sensor ring. You will likely see dark dust or small rubber fragments stuck in these crevices. This debris prevents proper contact between the pad and the sensor underneath.
Use a soft, dry brush or compressed air to clean the edge zone gently. A small paintbrush works well for this task. Brush away any visible rubber dust from the sensor contacts and the pad perimeter. Be careful not to bend or damage the sensor wires during cleaning.
Next, wipe the multi zone sensor contacts with a clean, lint free cloth. Dampen the cloth slightly with distilled water if the contacts look dirty or discolored. Dry everything completely afterward. Moisture inside the pad housing can cause short circuits or corrosion.
Check the cable connection points at both the pad and drum module. Dirt accumulates inside connector ports too. Use a dry cloth or compressed air to clean these areas. Push the connector in and out a few times to help dislodge trapped particles.
After cleaning, reconnect your cable firmly at both ends. Test the edge trigger by hitting the cymbal rim. You should hear the edge sound trigger properly now. If cleaning solves the problem, you have saved time and money by avoiding unnecessary pad replacement.
Regular maintenance prevents future debris buildup. Wipe your cymbal pads weekly during practice sessions to keep sensors clean and responsive.
Resetting Module Settings and Software Fixes
Your drum module stores settings that control how your cymbal pad responds to strikes. When your edge trigger fails, software problems might be responsible. A factory reset clears all custom configurations and returns your module to original settings. This process helps you determine if a software glitch causes the issue or if hardware damage exists.
Before performing a reset, write down your current settings. Take photos of your pad assignments, sensitivity levels, and trigger curves. You’ll need this information to reconfigure your module after the reset completes. Most drum modules store these details in menus labeled “Settings,” “Preferences,” or “Setup.”
Access your module’s main menu and locate the reset option. Different brands place this feature in different menu sections. Look for options like “Factory Reset,” “Initialize,” or “Restore Defaults.” Some modules require you to hold specific buttons for several seconds to activate reset mode. Check your manual for exact button combinations.
Confirm the reset before proceeding. Your module will ask you to verify this action. Select “Yes” or “Confirm” to complete the process. The module clears all custom settings and returns to factory defaults. This takes about 30 seconds to complete.
After the reset finishes, reconnect your cymbal pad cable to the correct input port. Test your edge trigger by striking the rim zone firmly. If the edge trigger now responds correctly, your original software settings caused the problem. Reconfigure your module using the notes and photos you took earlier.
If the edge trigger still fails after a factory reset, the issue is hardware related. This means your cable, sensor, or pad assembly needs repair or replacement. A software fix won’t solve hardware damage. Move forward with cable testing or sensor cleaning procedures to identify the exact hardware component that requires attention.
Mistakes to Avoid When Troubleshooting
Many drummers make costly errors when their edge trigger stops working. Understanding what NOT to do saves you time and frustration.
Don’t assume your pad is broken right away. Most drummers jump to replacement without testing basics first. Your edge trigger might fail while your center zone works perfectly. This tells you the pad itself is fine. The problem sits elsewhere in your signal chain.
Avoid skipping the cable swap test. This step takes 30 seconds but solves most issues. Use a cable you know works from another pad. Connect it to your problem cymbal. If the edge trigger suddenly responds, your original cable is faulty. If nothing changes, move forward with other fixes.
Don’t neglect cleaning before troubleshooting deeper. Rubber buildup around sensor edges is extremely common. Many drummers overlook this because the pad looks clean from above. Get down close and inspect where rubber meets the metal sensor ring. Compressed air works great for this task.
Avoid factory resetting without documenting your settings first. Write down your sensitivity levels, pad assignments, and any custom configurations. Take photos of your module display. A reset erases everything. You’ll need these notes to restore your kit afterward.
Don’t skip checking connections at both ends. Test the cable at your cymbal pad AND at your drum module. Loose connections on either end cause identical symptoms. Push connectors firmly until they seat completely.
Never assume software caused the problem without testing hardware first. Most edge trigger failures stem from physical issues like loose cables or dirty sensors. Software glitches are less common. Check the physical stuff thoroughly before resetting your module.
These mistakes waste hours and sometimes lead to unnecessary replacements. Stay systematic and test one variable at a time.
Final Thoughts
Fixing an edge trigger issue does not need to feel overwhelming. Most problems come from simple things like loose cables, dust, or rubber debris. A few minutes of checking often solves the whole problem.
Start with the easy fixes first. Test your cables before you touch anything else. Swap them with a spare cable to see if the issue disappears right away.
Cleaning your sensors is just as important. Rubber debris builds up over time and blocks proper contact. A quick clean with a soft brush can bring your edge trigger back to life.
If cables and cleaning do not solve it, try a factory reset. Software glitches sometimes cause strange trigger behavior that looks like a hardware failure. Always write down your settings before you reset anything.
Remember that patience matters here. Jumping straight to buying new parts wastes time and money. Testing each step in order helps you find the real cause faster.
Your drum module and cables work together as one system. A weak link anywhere in that chain can cause your edge trigger to fail. Checking each part individually gives you a clear picture of where the fault lies.
Think of troubleshooting like a simple checklist. Cables first, then cleaning, then software, then hardware. This order saves you from unnecessary frustration and guesswork.
Electronic drum kits are built to last with proper care. Regular cleaning and gentle handling keep your cymbal pads working well for years. A little maintenance now prevents bigger headaches later.
Trust the process and take it one step at a time. Most edge trigger issues are fixable without replacing your whole pad. With patience and the right approach, you can get your cymbal responding perfectly again.
Your drumming setup deserves consistent care. Keep these steps handy for next time trouble strikes.
Frequently Asked Questions
Why does my cymbal pad only respond to the center and not the edge?
Your edge trigger sensor likely has a loose connection or debris blocking it. The center zone uses a different sensor, so it works fine while the edge fails. Start by disconnecting and reconnecting your cymbal pad cable at both ends. Make sure it clicks fully into place at the module input. If that doesn’t help, swap your cymbal pad cable with a known working cable from another pad to see if the problem follows the cable.
Can rubber buildup really stop my edge trigger from working?
Yes, absolutely. Rubber debris from the cymbal pad material accumulates around the sensor contacts over time. This buildup blocks the electrical connection needed for edge detection. Use a soft brush or compressed air to clean around the cymbal’s edge zone and sensor area. Pay special attention to any visible dust or rubber particles near the multi zone sensor connections.
Should I factory reset my module if the edge trigger fails?
Factory reset is worth trying, but only after testing cables and cleaning first. A software glitch can sometimes cause edge trigger problems. Before you reset, write down your current pad assignments and sensitivity settings. After the reset completes, reconnect your cymbal pad and test the edge zone again. If the edge trigger still doesn’t work, the problem is hardware related, not software.
What’s the fastest way to know if my pad is actually broken?
Test with a spare cable immediately. Swap your cymbal pad cable with one from a different pad that works properly. If the edge trigger suddenly works with the new cable, your original cable is faulty. If it still fails, the pad itself likely has a hardware problem and needs replacement.

Hello, i’m Ivoria i am the face behind Tech Tracker Blog. I am passionate about my work and love to explore gadgets and share about my experience.