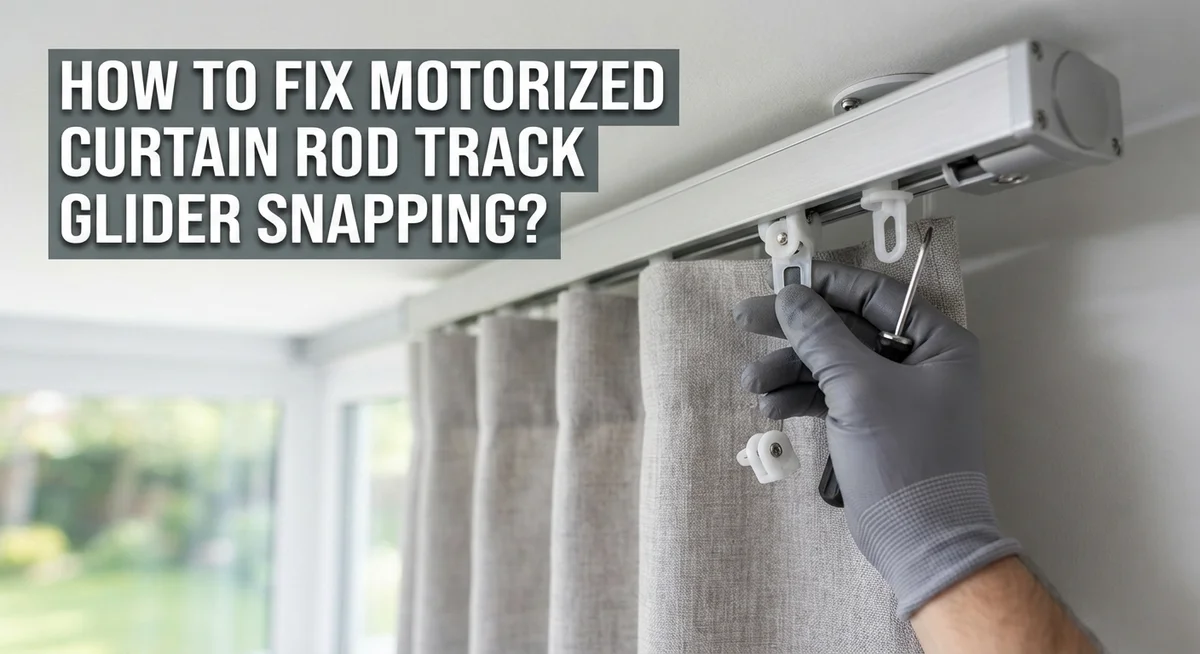
How To Fix Motorized Curtain Rod Track Glider Snapping?
Your motorized curtains glide smoothly one day. Then suddenly, you hear a snap. A glider breaks, and your curtain sags or gets stuck.
This is a common problem many homeowners face. Motorized curtain rod tracks work hard every day. Over time, small parts like gliders can wear out or crack.
The good news? You do not need to call a professional right away. Most glider snapping issues come from simple causes. Dust, debris, or misalignment are often the real culprits.
In this guide, we will show you exactly why gliders snap in the first place. You will learn how to inspect your track for damage. We will walk you through cleaning steps that prevent future breaks.
In a Nutshell
- Debris and dust cause most snapping issues. Tracks collect dirt over time. This buildup puts stress on gliders and makes them break.
- Remove curtains first. Always take curtains off the track before you inspect or repair anything. This step prevents further damage.
- Clean the track with a soft cloth. A gentle wipe removes grime without scratching the surface. Regular cleaning stops future snapping.
- Check alignment carefully. A misaligned track puts extra pressure on gliders. Fix this issue before adding new parts.
- Replace broken gliders quickly. Swap out damaged pieces once your track is clean and aligned. This keeps your motorized system running smoothly.
- Try the no removal hack. You can slide in new glides without taking curtains down. This quick fix saves time when you are in a hurry.
Understanding Why Curtain Rod Track Gliders Snap
Curtain rod track gliders snap for several clear reasons. Understanding these causes helps you prevent future problems and fix current ones faster.
Debris buildup is the leading culprit. Dust, pet hair, and small particles collect inside the track over time. These materials jam the glider mechanism, forcing it to work harder. Eventually, the plastic or metal components crack under pressure.
Misalignment creates uneven stress on gliders. When the track tilts or shifts, gliders bear weight unevenly. One side pushes harder than the other, causing premature failure. This happens after installation mistakes or wall settling.
Normal wear and tear affects all motorized systems. Gliders move thousands of times throughout their lifespan. The materials gradually weaken, becoming brittle and prone to breaking. Older systems fail more frequently than newer ones.
Installation errors cause many snapping incidents. If the track was not mounted level or securely, gliders experience constant strain. Improper spacing between gliders also creates binding and stress points.
Motorized system strain adds extra pressure compared to manual curtains. The motor pulls with consistent force, and gliders must handle this power repeatedly. Weak or defective gliders cannot withstand this demand.
Humidity and temperature changes affect plastic gliders especially. Expansion and contraction weaken the material over seasons. This makes gliders more likely to snap during operation.
Stuck or jammed gliders lead to snapping if ignored. When one glider stops moving, the motor forces others to compensate. This creates dangerous stress that breaks remaining components.
The good news? Most snapping causes are preventable. Regular cleaning, proper installation, and early maintenance catch problems before they become expensive repairs. Catching warning signs early saves time and money.
Tools and Materials You’ll Need Before Starting
Before you start fixing your motorized curtain rod track glider, gather the right tools and materials. Having everything ready saves time and prevents frustration during the repair process.
You will need a soft cloth or microfiber towel for cleaning. This removes dust and debris without scratching the track surface. Avoid rough materials that cause additional damage.
A small brush with soft bristles helps reach tight spaces inside the track. You can use an old toothbrush if you do not have a specialty brush available. This tool clears out stubborn particles that a cloth cannot reach.
Replacement gliders specific to your motorized system are essential. Check your curtain rod manual or contact the manufacturer to identify the correct glider type. Having the right replacement ensures smooth operation after your fix.
A straightedge or level helps verify track alignment. This simple tool shows whether your track sits perfectly straight or has shifted slightly. Misalignment often causes gliders to snap, so checking this matters.
Lubricant designed for motorized systems keeps gliders moving smoothly. Use only products recommended for your specific system type. Avoid general purpose oils that attract dust and create buildup.
A screwdriver set handles any fasteners on your track or motorized unit. Most repairs require only basic hand tools rather than power equipment.
A small container holds loose parts while you work. This prevents losing screws or glider components during disassembly.
Finally, have your instruction manual nearby. It contains specific details about your system’s design and recommended maintenance steps. Reference it throughout your repair to ensure you follow the correct procedure for your particular motorized curtain rod model.
Step-by-Step Guide to Removing Curtains and Inspecting the Track
Start by turning off your motorized curtain system at the wall outlet or control panel. This keeps you safe while working with electrical components. Unplug the motor unit if possible for extra safety.
Next, manually lower your curtains all the way down. Most motorized systems have a manual override button or lever. Check your system’s manual if you cannot locate it. Gently guide the curtains down by hand if needed.
Remove the curtain panels from the gliders. Unhook or unclip each panel carefully, starting from one end of the track. Set the panels aside on a clean surface where they won’t get damaged. This gives you full access to the track and gliders.
Inspect the entire track length for visible damage. Look for bent sections, cracks, or areas where gliders sit unevenly. Run your fingers along the track to feel for rough spots or debris buildup. Check both the top and bottom surfaces of the track.
Examine each glider closely. Look for cracks, chips, or pieces that have broken off. Test if any gliders move freely by gently pushing them along the track. Note which gliders feel stuck or make grinding sounds.
Clean the track thoroughly with a soft cloth. Wipe away dust, dirt, and any buildup inside the track channel. Use a small soft brush to reach corners and crevices. This often reveals hidden damage you missed initially.
Check track alignment using a level or straightedge. Place it along the track to see if it sits flat and level. Misaligned tracks cause uneven stress on gliders. Document any alignment problems you find.
Take photos of damaged areas before proceeding. These images help you remember what needs fixing and track your progress.
How to Clean and Realign Your Motorized Curtain Track
Once you’ve removed your curtains and inspected the track, cleaning comes next. This step prevents future snapping and fixes many glider problems.
Start by using your soft cloth to wipe the entire track length. Move slowly along both sides of the track where gliders travel. Pay special attention to corners and joints where debris collects easily. You’ll likely find dust, lint, and small particles that cause jamming.
For stubborn buildup, use your soft bristled brush to gently scrub inside the track channel. Work the brush back and forth in short strokes. Avoid pressing too hard since the track material can scratch. Remove all loosened debris with your cloth afterward.
Check the track opening where gliders sit. This area traps the most dirt and directly affects glider movement. Clean it thoroughly since particles here cause snapping under motorized stress.
Now examine track alignment carefully. Place your straightedge or level along the track’s length. The track should sit perfectly straight and level. Even small dips or rises create uneven pressure on gliders.
If you find misalignment, check all mounting brackets. Loose brackets cause track sagging. Tighten any fasteners you find, but don’t over tighten since this warps the track.
Look for bent or damaged track sections. These can’t be fixed by cleaning alone. You may need replacement track pieces if damage is severe.
After cleaning and realigning, move the gliders by hand along the entire track. They should slide smoothly without resistance. Listen for grinding sounds that indicate remaining debris.
This cleaning and realignment process takes about 30 minutes. It solves most glider snapping issues before they become serious problems. Regular cleaning every few months prevents future damage.
Replacing Broken or Jammed Gliders the Right Way
Replacing broken or jammed gliders requires a systematic approach. Start by turning off power to your motorized system completely. This safety step prevents accidents during the replacement process.
Remove your curtain panels from the track first. This gives you full access to work with each glider without obstruction. Take time to examine which gliders are damaged or stuck.
Gently slide out the broken glider from the track. Most motorized systems allow gliders to slide out from one end of the track. If a glider feels stuck, do not force it. Instead, apply a small amount of lubricant and wait a few minutes.
Before installing the new glider, inspect the track opening where it sits. Remove any debris or dust that accumulated around the damaged glider. A soft cloth works well for this quick cleaning step.
Slide the replacement glider into position carefully. Make sure it sits flat and level in the track. The glider should move smoothly when you push it by hand.
Test the glider movement along the entire track length. Push it back and forth several times to confirm smooth operation. Listen for any grinding or clicking sounds that indicate problems.
Repeat this process for each damaged glider until all broken ones are replaced. Once all gliders are installed, reattach your curtain panels. Turn the power back on and test your motorized system through a full cycle.
If gliders still jam after replacement, the track itself may have bent sections or misalignment issues. Check all mounting brackets to ensure they hold the track straight. Proper alignment prevents future glider problems and extends system life.
Quick Fix: Replacing Glides Without Removing the Curtains
Here’s a practical workaround if you want to avoid the full removal process. This quick method works when you need to replace just one or two gliders and your curtains are already hanging.
Start by identifying which glider is broken or snapped. Move your curtains to one side so you can access the damaged glider clearly. Push the curtain fabric away from the problem area. This gives you room to work without disturbing the entire panel.
Next, gently slide the broken glider toward the nearest end of the track. Most motorized systems allow gliders to exit from either end. Work slowly to avoid forcing the glider, which could damage the track itself. Once the broken glider reaches the end, carefully remove it from the track opening.
Before inserting the replacement glider, wipe the track opening clean with a soft cloth. Debris around the opening can cause the new glider to jam immediately. Check that the track is straight in this area. A bent section will prevent smooth operation.
Slide your replacement glider into the track opening carefully. Position it at the end and gently push it into place. Test the glider movement by hand along several feet of track. It should slide smoothly without resistance.
This method saves time when you’re dealing with a single failing glider. However, if multiple gliders are broken or if the glider keeps jamming after replacement, you should remove the curtains completely. This allows you to inspect the entire track for debris, misalignment, or damage that could affect your new glider’s performance.
The workaround works best as a temporary solution for minor issues.
Common Mistakes That Lead to Repeated Glider Failure
Most people make the same errors when their motorized curtain gliders snap. These mistakes cause the problem to happen again and again.
Skipping the cleaning step is the biggest error. Many people replace a broken glider without cleaning the track first. Dust and debris remain inside the channel. The new glider snaps within weeks because it hits the same buildup that broke the original one. Always clean before you replace.
Forcing gliders into misaligned tracks is another common mistake. People push replacement gliders into position without checking if the track sits straight. A bent or crooked track will snap any new glider you install. Take time to verify the track alignment before sliding anything into place.
Ignoring mounting bracket problems causes repeated failures too. Loose brackets create track misalignment over time. Your gliders break because the track moves slightly during operation. Check all brackets are tight and secure before you finish any repair.
Installing gliders at the wrong angle happens more than you’d think. Gliders must enter the track opening straight and level. Tilting or forcing them at an angle stresses the glider body. This stress causes snapping even if the glider seems fine at first.
Reusing old gliders is another trap. People try to reinstall gliders that were stuck or damaged. These gliders have internal cracks you can’t see. They snap again immediately under motor pressure.
Rushing the process leads to poor installation. Take your time sliding gliders into position. Work slowly and feel for any resistance. If a glider doesn’t slide smoothly, stop and check for track problems instead of forcing it forward.
Troubleshooting Persistent Motorized Track Issues
Persistent motorized track issues require a systematic approach to identify and fix the root cause. Many problems stem from simple maintenance gaps rather than equipment failure.
Debris buildup is the primary culprit behind glider snapping and track jamming. Dust, lint, and small particles accumulate inside the track over time. These particles create friction that forces gliders to jam or break under motor pressure. Regular inspection reveals buildup before it causes damage.
Track misalignment occurs gradually from normal use or improper installation. When the track shifts even slightly, gliders experience uneven pressure. This uneven stress causes snapping during operation. Check if your track sits level by using a simple level tool along its length.
Moisture and humidity can expand track materials, causing binding issues. In bathrooms or kitchens, this problem accelerates significantly. Ensure proper ventilation in these areas to reduce moisture exposure.
Motor strain indicates deeper problems beyond simple glider issues. If your motor sounds strained or moves slowly, the track may have bent sections. Inspect the entire track length for visible dents or warping.
Test your system manually by moving curtains by hand. Resistance during manual movement points to track or glider problems before the motor fails. This simple test saves time diagnosing issues.
Document when snapping occurs. Does it happen at specific track positions? This pattern reveals misalignment or debris concentration areas. Morning failures often indicate moisture issues from overnight condensation.
Address one issue at a time. Start with thorough cleaning, then check alignment, and finally test glider replacement. This process prevents overlooking the actual problem. Many people fix one issue only to discover another was causing the snapping all along.
Final Thoughts
Fixing a snapped glider does not have to be a stressful task. Most problems come from simple causes like dust, misalignment, or worn parts.
Once you know the root cause, the fix becomes quick and manageable. You do not need special tools or expert help for most repairs.
Remember to clean your track first before you replace any parts. Skipping this step often leads to the same problem coming back.
Take your time with alignment checks too. A track that sits even slightly off can cause new gliders to snap again soon.
Regular maintenance saves you from bigger headaches later. Wipe your track every few weeks and check for loose brackets.
This small habit keeps your motorized system running smoothly for years. It also protects your motor from unnecessary strain.
If you notice repeated snapping despite your best efforts, look deeper into the track structure. Sometimes bent sections or bracket issues hide behind minor glider failures.
Testing your system by hand before turning on the motor helps you catch problems early. This simple check can save you from bigger repairs down the road.
Keep a simple log of when issues happen. Patterns in snapping often point straight to the real cause.
Fixing one glider at a time works better than rushing through multiple repairs. Patience leads to lasting results with motorized curtain tracks.
With the right approach, you can handle glider snapping like a pro. Clean tracks, aligned gliders, and steady maintenance are your best defense.
Your motorized curtains will run smoother and last longer this way. A little care today prevents bigger frustrations tomorrow.
Frequently Asked Questions
Why do motorized curtain rod gliders snap in the first place?
Gliders snap for three main reasons. Debris buildup inside the track is the most common cause. Dust and particles jam the gliders, forcing them to break under motor pressure. Misalignment of the track also causes snapping. When the track sits crooked, gliders experience uneven stress. Wear and tear from years of use weakens gliders until they finally fail.
Can I replace a broken glider without taking down my curtains?
Yes, workaround methods exist for single glider failures. You can slide a new glider into place while curtains hang on the track. This quick fix works when only one glider is damaged. However, this approach has limits. If multiple gliders are broken or the track needs cleaning, you must remove the curtains completely for proper repair.
What’s the fastest way to fix a jammed glider?
A 5 minute fix often works for stuck gliders. First, remove the curtains entirely. Next, use a soft cloth to wipe the entire track thoroughly. Debris causes most jamming issues. After cleaning, slide the gliders back and forth by hand several times. This simple cleaning step solves many problems without replacing anything.
How do I know if my track is misaligned?
Test your system manually before using the motor. Move the curtains by hand along the entire track. Listen and feel for resistance. Smooth movement means proper alignment. Rough spots or grinding sounds indicate misalignment. Check that mounting brackets are tight and level. Loose brackets cause the track to shift over time.
What maintenance prevents future glider snapping?
Wipe your track every few weeks with a soft cloth. Check all mounting brackets for tightness. Remove visible dust and debris regularly. This small habit keeps your motorized system running smoothly for years.

Hello, i’m Ivoria i am the face behind Tech Tracker Blog. I am passionate about my work and love to explore gadgets and share about my experience.