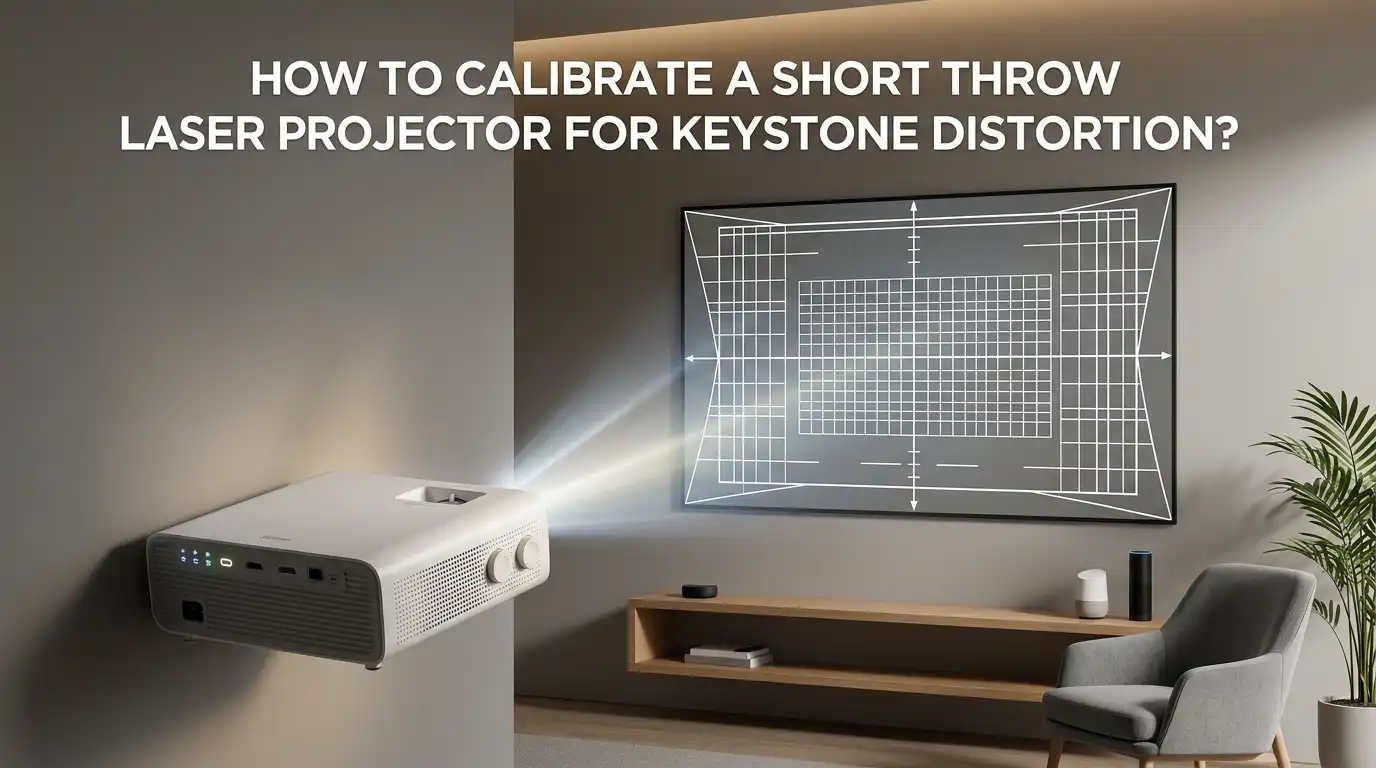
How to Calibrate a Short Throw Laser Projector for Keystone Distortion?
You just unboxed your brand new short throw laser projector. You set it on the media console, fire it up, and suddenly your rectangle looks like a lopsided trapezoid. Your heart sinks.
You wonder if the projector is broken. Take a deep breath. It is not broken. You are simply facing keystone distortion, and it is one of the most common problems in projection setups. The good news is you can fix it completely with the right steps.
This guide will walk you through every method, from the ideal physical placement to the last resort digital corrections. You will learn what actually works, what hurts your picture quality, and how to get a sharp, perfectly rectangular image on your screen.
Key Takeaways
- Physical placement comes first. Always position your short throw laser projector as perpendicular and centered to the screen as possible before touching any digital settings. This preserves 100 percent of your native resolution and brightness.
- Digital keystone correction degrades your image. Every degree of digital keystone adjustment discards actual pixels, reduces sharpness, and creates a faint gray halo around the projected image area.
- Leveling the screen is just as important as leveling the projector. A screen that is slightly tilted will cause alignment headaches no matter how perfectly you position the projector.
- Optical lens shift is the best compromise if your projector has it. It physically moves the lens assembly without altering any pixel data, giving you placement flexibility without quality loss.
- Use adjustable feet, shims, and quarters for micro adjustments. Small physical tweaks at the projector base can solve keystone issues that digital correction cannot fix without sacrificing clarity.
- Recalibrate focus and color after fixing geometry. Once the image is perfectly rectangular, you still need to dial in sharpness and color settings to match your specific room and screen material.
What Is Keystone Distortion in a Short Throw Laser Projector?
Keystone distortion happens when your projector lens is not perfectly perpendicular to the screen. The light beam hits the screen at an angle, and the image stretches into a trapezoid shape. The name comes from the wedge shaped keystone at the top of an arch in old buildings.
If the top of your image is wider than the bottom, your projector is tilted too far upward. If the bottom is wider, the projector is tilted too far downward. The same distortion can happen horizontally when the projector sits off to one side.
Short throw laser projectors are especially sensitive to this problem. They sit very close to the screen, often just a few feet away. A tiny tilt of one degree creates a much larger distortion than the same tilt on a long throw projector mounted across the room.
The lens on a short throw unit spreads light at a wider angle, which magnifies every positioning mistake. Understanding this is the first step toward fixing it the right way.
Why Short Throw Projectors Are More Prone to Keystone Issues
Short throw and ultra short throw projectors use wide angle lenses to produce large images from a very short distance. This is their biggest selling point. You can place them on a TV stand right against the wall and still get a 100 inch picture.
But that wide angle lens comes with a trade off. The wider the projection angle, the more dramatic the keystone effect becomes from even the smallest misalignment.
Think about a flashlight. When you point it straight at a wall, you get a perfect circle. When you angle it slightly, the circle becomes an oval. Now imagine that your flashlight has an extremely wide beam. The same small tilt creates a much more distorted oval.
Your short throw laser projector works on the exact same principle. A misalignment of just one or two millimeters at the projector base can create a visible trapezoid on a 120 inch screen. This is why physical precision matters so much with this type of projector.
The Hidden Cost of Digital Keystone Correction
Digital keystone correction seems like magic. You press a button, and your crooked image snaps into a perfect rectangle. But there is a serious price you pay for that convenience.
Digital keystone works by scaling and warping the source image before it reaches the imaging chip. The projector takes your 4K signal, squishes it into a smaller portion of the DLP or LCD chip, and then stretches it into a compensating trapezoid.
You lose actual pixels in this process. A keystone adjustment of 20 degrees can discard up to 25 percent of your effective resolution. Your expensive 4K laser projector could be outputting an image closer to 1080p quality. The unused pixels do not turn off either.
They still glow, creating a faint gray trapezoidal border around your rectangular image. This light bleed washes out contrast and makes black scenes look muddy. The projector is still shooting a trapezoidal beam of light. You are just masking it with software. For critical viewing, this is a deal breaker.
Pros and Cons of Digital Keystone Correction
Digital keystone correction is not all bad. It has a time and a place, but you need to understand exactly what you are trading off.
Pros. It offers instant setup convenience. You can place your projector almost anywhere and get a rectangular picture in seconds. Auto keystone systems use gyroscopes and time of flight sensors to do the correction automatically.
This is perfect for portable setups like backyard movie nights or business presentations where speed matters more than absolute picture quality. It also allows flexible placement in rooms where a centered mount is simply impossible.
Cons. The resolution loss is real and measurable. Brightness drops because light is wasted on inactive pixel areas. Input lag increases because the projector processor must recalculate every frame geometrically. This added latency can ruin competitive gaming experiences.
Focus uniformity suffers because the lens cannot keep every corner sharp when the projector sits at an angle. The gray halo effect destroys perceived contrast in dark viewing environments. For a dedicated home theater, these compromises are hard to justify.
Physical Placement: The Golden Rule Before Any Calibration
The single best calibration technique is to avoid needing keystone correction at all. Place your projector so the lens is perfectly perpendicular to the screen surface, both horizontally and vertically. Measure twice and move once.
This is the golden rule that every professional installer follows. Start by checking the manufacturer throw distance chart for your specific model. Each short throw laser projector has a precise distance range where it can fill a given screen size without any digital help.
Mark the center point of your screen with a small piece of painter tape. Then mark the corresponding center line on your media console or shelf. Use a tape measure to confirm that the left and right edges of the projector lens are equidistant from the screen surface.
Even a quarter inch difference matters. Place the projector at the correct height so the lens center aligns with the bottom edge of the screen or wherever the manufacturer recommends. Getting this right from the start saves hours of frustrating tweaks later and preserves every pixel your projector can deliver.
How to Level Your Projector Screen First
Many people spend hours adjusting their projector only to discover the screen itself was crooked. Always level your screen before you touch the projector.
Use a standard bubble level and place it horizontally along the top or bottom frame of the screen. If the bubble is off center, adjust the mounting brackets immediately. Some screens have built in adjustment screws. Others may need small shims inserted behind the wall mount brackets.
Check the wall itself for flatness. Drywall can bow inward or outward by several millimeters, especially on exterior walls that face temperature changes. Run the level vertically along multiple points of the screen surface.
If you find a dip or a bulge, slip thin cardboard or plastic shims between the wall and the screen frame in that area. A bowed screen creates a curved top or bottom edge in your projected image that no amount of projector adjustment can fix. Taking ten extra minutes to level and flatten the screen surface now will prevent countless alignment headaches down the road.
Step by Step: Aligning Your Short Throw Laser Projector Without Keystone
Follow these steps in order for a perfectly rectangular image with zero digital correction.
First, rotate the projector left or right until both side edges of the projected image have the same angle. If the left side slopes inward more than the right side, rotate the projector toward the left. Keep adjusting until the slant is symmetrical on both sides. Use a tape measure to compare the top width and bottom width of the image.
Second, slide the projector side to side to center the image on the screen horizontally. This movement shifts the picture without changing any angles.
Third, move the projector forward or backward to adjust overall image size. Sliding it closer makes the picture smaller. Sliding it farther makes it larger.
Fourth, use the front adjustable feet or rear shims to make the side edges perfectly parallel. Raise the front feet evenly to shrink the top width and expand the bottom width. Lower them to do the opposite. Once the image forms a perfect rectangle, only move the projector left, right, forward, or backward from that point. Never rotate it again.
Using Optical Lens Shift as a Lossless Alternative
Optical lens shift is a hardware feature found on many mid range and high end projectors. It physically moves the internal lens assembly up, down, left, or right without changing the digital image at all.
Think of it as the optical zoom on a camera compared to digital zoom. One preserves quality, and the other destroys it. Lens shift redirects the entire cone of light while keeping the pixel grid completely intact. You get zero resolution loss, zero brightness loss, and zero input lag.
To use lens shift properly, first get your projector as physically square to the screen as possible using the steps above. Then use the lens shift dials or menu controls to nudge the image into its final position. Lens shift is for correcting off center placement, not off angle placement.
It cannot fix keystone distortion caused by tilting the projector. But it can let you place the projector slightly left, right, above, or below the screen center without sacrificing image quality. If your short throw laser projector has this feature, use it gladly.
Pros and Cons of Optical Lens Shift
Optical lens shift is the gold standard for flexible placement, but it comes with its own trade offs.
Pros. It preserves 100 percent of your native resolution and brightness. The image remains pixel perfect because no digital scaling occurs. There is zero added input lag, making it ideal for gaming.
It provides meaningful placement flexibility, especially for ceiling mounts or off center shelf placements. The image stays sharp from corner to corner because the lens remains parallel to the screen surface.
Cons. Lens shift adds cost to the projector hardware. Budget and mid range short throw laser projectors often skip this feature entirely. The adjustment range is limited, typically 10 to 30 percent of the image width or height.
If your room demands extreme off axis placement, lens shift alone will not be enough. Some projectors combine lens shift with digital keystone, which still degrades quality once you exceed the optical range. Also, not all lens shift systems offer both horizontal and vertical movement. Check the specifications carefully before buying.
How to Use Adjustable Feet and Shims for Fine Tuning
Once your projector sits in the right spot and the screen is level, small physical tweaks make the final difference. Most short throw laser projectors have adjustable front feet that twist up or down.
Turn them slowly and watch the top and bottom edges of the image. Raising both front feet equally makes the top edge shrink and the bottom edge expand. Lowering them does the opposite.
For the rear of the projector, you will need shims. Coins work surprisingly well because they are thin, uniform in thickness, and do not compress over time. Stack quarters, nickels, or dimes under the rear feet to adjust the rear height.
You can also use plastic furniture shims from a hardware store for more precise control. The key is to make small adjustments and check the result after each change.
A single coin thickness can shift the image edge by several millimeters on a large screen. Be patient. This part takes more time than any other step, but it delivers a flawless result without touching any digital correction.
When and How to Use Digital Keystone as a Last Resort
Sometimes physical placement is simply impossible. Maybe your room has an awkward layout. Maybe the furniture cannot move. Maybe the screen is fixed in a corner with no straight on access. In these cases, digital keystone correction becomes your only practical option. Use it, but use it wisely.
Access the keystone settings in your projector menu. Most models offer manual four point or eight point corner adjustment. Drag each corner individually until the image fits your screen borders. Keep the correction angle as small as possible. Staying under 10 degrees of adjustment preserves most of your image quality and minimizes the gray halo effect.
To hide the leftover light bleed, invest in a screen with wide black velvet borders. The velvet absorbs the stray trapezoidal light and makes the gray halo nearly invisible in a dark room. Also disable any dynamic contrast or auto iris features while using keystone, as the uneven light distribution can confuse those algorithms and create flickering.
Calibrating Focus and Color After Geometry Correction
Getting the shape right is only half the battle. Once your rectangle is perfect, you must also dial in focus and color for your specific room and screen. Start with focus.
Display a sharp test pattern or a page of small text. Walk up to the screen and look closely at the center and all four corners. Turn the focus ring slowly until the center is razor sharp. If the corners remain slightly soft, you may need a compromise setting that balances sharpness across the entire image area.
Next, adjust picture mode and color temperature. Most laser projectors ship in a vivid or dynamic mode that pushes blues and oversaturates colors. Switch to a cinema or movie mode for more natural tones.
Use the built in test patterns if your projector has them. Adjust brightness so that shadow details remain visible without washing out black bars. Set contrast so that white highlights do not clip. If you want professional accuracy, consider a colorimeter and calibration software. Even basic eye based adjustments will dramatically improve your viewing experience.
Common Mistakes to Avoid When Calibrating a Short Throw Projector
Many people make the same errors when setting up their short throw laser projector. Avoiding these will save you hours of frustration.
Mistake one. Relying on auto keystone and calling it done. Auto keystone is fast but it applies aggressive digital correction that quietly destroys picture quality. It also struggles with complex room geometry and can create uneven results.
Mistake two. Forgetting to check the screen level before adjusting the projector. A crooked screen guarantees a crooked image no matter what you do.
Mistake three. Placing the projector on a soft or unstable surface. Carpets, tablecloths, and wobbly furniture cause the projector to shift slightly over time, undoing all your careful alignment.
Mistake four. Using keystone in gaming mode. Many projectors disable low latency game modes when keystone correction is active because the processor is busy handling geometry. This adds significant input lag.
Mistake five. Ignoring seasonal wall movement. Exterior walls expand and contract with temperature changes, which can shift a screen by millimeters and throw off alignment.
Maintenance Tips to Keep Your Image Perfect Over Time
A perfectly calibrated projector does not stay perfect forever. Laser light sources slowly shift in color output over thousands of hours. Dust settles on the lens and internal optics, reducing sharpness and contrast. Your wall or screen surface can warp slightly with humidity changes. Plan for periodic checkups.
Clean the lens gently every few months. Use a microfiber cloth and a small amount of lens cleaning solution. Never spray liquid directly on the lens. Apply it to the cloth first. Check your image geometry every six months or whenever seasons change. A quick test pattern can reveal if the projector feet have settled or shifted.
Recalibrate color and gamma every 1000 to 1500 hours of lamp life. For laser projectors used four hours daily, that means roughly every year. If skin tones start looking too red, too green, or too pale, it is time for a recalibration. Keep the projector firmware updated as well.
Manufacturers sometimes improve keystone algorithms and picture processing through software updates. A little maintenance goes a long way toward keeping your big screen experience sharp and immersive.
FAQ
Does digital keystone correction affect gaming performance?
Yes. Digital keystone correction adds processing time because the projector must recalculate the geometry of every single frame. This creates input lag that can range from 20 to 60 milliseconds depending on the projector model. Many projectors also disable their dedicated low latency game mode when keystone correction is active. For competitive gaming, turn off all digital correction and align the projector physically instead.
Why are the corners of my image blurry after using keystone correction?
This is a focus uniformity problem caused by the projector lens design. A projector lens creates a single flat plane of sharp focus. When you tilt the projector and use keystone correction, one corner of the screen sits physically farther from the lens than the opposite corner. Digital correction can fix the shape, but it cannot change the optical focus distance. The corner farthest from the lens will always be slightly softer.
What is the difference between keystone correction and lens shift?
Keystone correction is a digital process that scales and warps the source image to create a rectangular shape. It discards pixels, reduces resolution, and lowers brightness. Lens shift is a mechanical process that physically moves the internal lens assembly. It redirects the entire light beam without touching any pixel data, preserving full resolution and brightness. Lens shift fixes off center placement, while keystone correction is meant for off angle projection.
Can I use keystone correction on a short throw projector without losing picture quality?
You cannot use digital keystone correction without some quality loss. The physics of the process requires pixel scaling, which always reduces sharpness and brightness. However, you can minimize the loss by keeping correction under 10 degrees, using a screen with thick black velvet borders to absorb light bleed, and getting the projector as physically square as possible before touching digital settings. The less correction you apply, the better the result.
How often should I realign my short throw laser projector?
Check your image geometry every six months or at the start of each new season. Temperature and humidity changes can cause your wall, screen frame, and projector shelf to shift slightly. Exterior walls are especially prone to seasonal movement. You may not notice the drift day to day, but a quick alignment check with a test pattern will reveal if the edges have crept off the screen borders. Catching small shifts early prevents the need for heavy digital correction later.

Hello, i’m Ivoria i am the face behind Tech Tracker Blog. I am passionate about my work and love to explore gadgets and share about my experience.