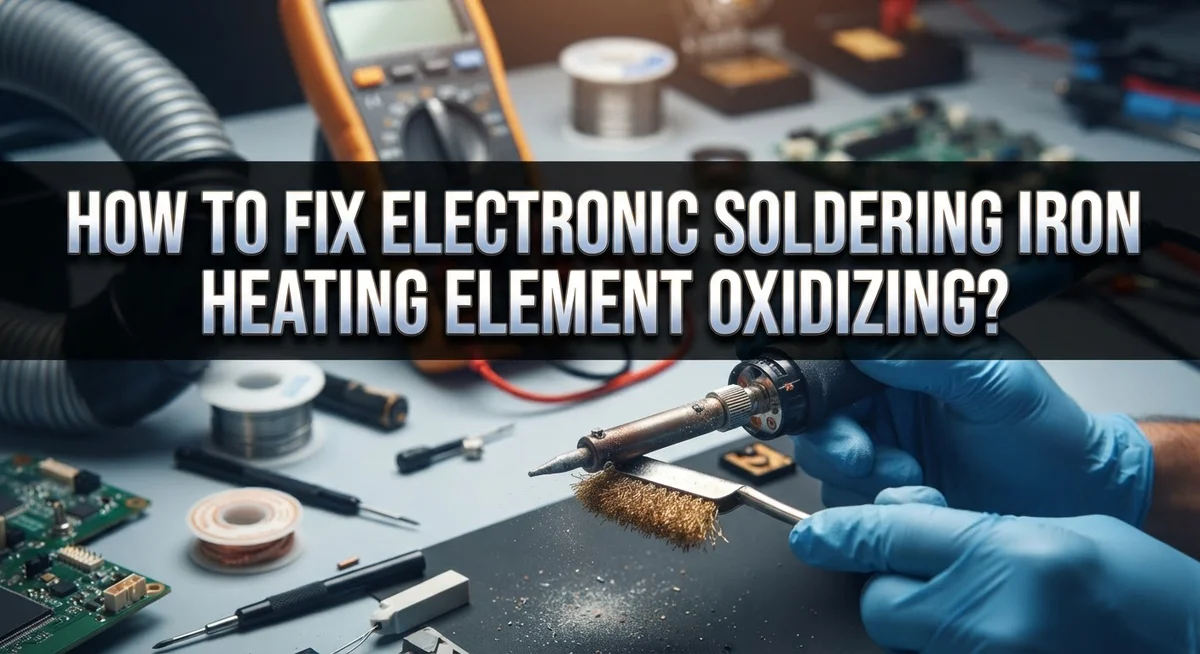
How To Fix Electronic Soldering Iron Heating Element Oxidizing?
Does your soldering iron tip look dull and dark? Does solder refuse to stick like it used to? You are probably dealing with oxidation.
Oxidation happens when the hot metal tip meets air. This reaction creates a layer that blocks heat transfer. Your soldering jobs suffer as a result.
The good news? This is a common problem with simple fixes. You do not need a new iron. You just need the right technique.
By the end, you will know how to fix oxidation and keep your soldering iron working like new. Let’s get your tip back in shape.
In a Nutshell
Clean the tip first. Wipe off old solder and grime before you start any repair work. A clean surface helps you see the real damage underneath.
Use tip tinner for stubborn oxidation. This special mix of flux and solder breaks down rust like deposits fast. It restores your tip’s shine and function in minutes.Tap gently to remove debris. Take the tip out and tap it lightly against a soft surface. This knocks loose oxide particles stuck inside the tip.
Watch your temperature settings. Keep lead based solder under 350°C. Lead free solder should stay below 400°C for best results.
Always leave solder on the tip. Never store your iron with bare exposed metal. A thin solder coating acts like armor against air exposure.
Cool down properly before storage. Tin your tip at lower heat right before you finish work. This creates a tougher protective layer that resists future oxidation.
What Causes Soldering Iron Tip Oxidation
Oxidation forms when your soldering iron tip sits exposed to oxygen in the air. The metal surface reacts with oxygen and creates a dark, crusty layer. This layer acts like a barrier that blocks heat from transferring properly to your solder joints.
Your soldering iron tip naturally wants to oxidize because iron is chemically reactive. The hotter your tip gets, the faster this process happens. When you finish a soldering job and let the tip cool down bare and exposed, oxidation accelerates dramatically.
The solder coating is your best defense. A fresh layer of solder on your tip prevents direct contact between the metal and air. This protective layer stops oxidation before it starts. Think of it like a shield that keeps oxygen away from the iron underneath.
Temperature plays a major role in how quickly oxidation happens. Lead bearing solder oxidizes faster when temperatures exceed 350°C. Lead free solder can handle up to 400°C before oxidation becomes severe. Running your iron hotter than needed speeds up the oxidation process significantly.
Moisture in your work environment also contributes to tip oxidation. Humid air contains water vapor that reacts with hot metal faster than dry air. If you work in a damp space, you will notice oxidation happening quicker.
Poor storage habits create major oxidation problems. Storing your iron with a bare tip exposed to air overnight causes heavy oxidation by morning. The tip cools down completely while exposed, allowing rust like deposits to form thick layers.
Old solder residue and flux buildup trap moisture against the tip surface. This trapped moisture accelerates oxidation dramatically. Dirty tips oxidize much faster than clean ones because contaminants hold water and oxygen against the metal.
Understanding these causes helps you prevent oxidation before it damages your soldering iron. The key is keeping your tip protected, maintaining proper temperatures, and storing your iron correctly.
Signs Your Heating Element or Tip Is Oxidized
Your soldering iron tip sends you clear warning signs when oxidation takes hold. Recognizing these signals early helps you fix problems before they get worse.
Discolored tip appearance is the first visual clue. A healthy tip looks shiny and silver. An oxidized tip turns dull, gray, or even black. The color change happens because a layer of oxide forms on the metal surface. This coating blocks heat transfer and ruins your solder joints.
Poor solder adhesion is another major sign. Solder should flow smoothly onto your tip and stick instantly. If solder beads up and rolls off instead, oxidation is blocking the connection. Your iron may feel hot enough, but the oxidized layer prevents proper heat transfer to the solder.
Weak heat transfer means your joints take longer to form. The tip feels hot to the eye, yet solder melts slowly or unevenly. This frustrating delay signals that oxidation has built a barrier between your heating element and the work.
Difficulty tinning your tip reveals serious oxidation. Tinning should coat your tip with fresh solder in seconds. If the solder won’t stick no matter how long you hold it there, heavy oxidation is present. The oxide layer is too thick for normal tinning to penetrate.
Pitting or rough texture on the tip surface indicates advanced oxidation damage. Run your finger gently across a cool, unplugged iron. A smooth tip feels uniform. A pitted tip feels bumpy or cratered. These pits trap old solder and accelerate future oxidation.
Inconsistent heat spots also point to oxidation problems. Some areas of your tip heat well while others stay cool. This uneven performance means oxide deposits are blocking heat flow in certain zones.
Catching these signs early makes repairs much simpler and faster.
Step-by-Step: Cleaning and Restoring an Oxidized Tip
Start by removing your soldering iron from power and letting it cool completely. Never work on a hot tip as you risk burns and damage to your equipment.
Once cool, gently remove the tip from the iron’s heating element. Most tips unscrew or pull straight out depending on your iron model. Handle it carefully to avoid dropping it on hard surfaces.
Examine the tip closely under good lighting. Look for dark discoloration, rough patches, or a dull gray coating. These all signal oxidation that needs removal.
Take your tip tinner and apply a small amount directly to the oxidized areas. Tip tinner contains aggressive flux mixed with solder that actively breaks down oxide deposits. The chemical reaction helps restore the tip’s surface. Let it sit for a few seconds to work.
Wipe the tip clean with a damp sponge or brass wire cleaner. Use gentle circular motions rather than hard scrubbing. You should see the shiny metal underneath start to reappear as the oxidation lifts away.
If heavy oxidation remains, repeat the tinner application. Some stubborn cases need two or three rounds to fully restore the tip.
For deposits trapped inside the tip’s contact point, tap it very gently against a soft cloth or wooden block. This helps expel loose oxide particles without damaging the tip itself.
Once clean, apply a fresh coat of solder to the entire tip surface. This protective layer prevents new oxidation from forming immediately.
Reinsert the tip back into your iron and power it on. Test the heat transfer by applying fresh solder. The tip should accept solder smoothly and transfer heat efficiently to your work.
Store your iron properly after use by keeping solder on the tip at all times. This single habit prevents most oxidation problems from returning.
Setting the Right Temperature to Prevent Oxidation
Temperature control is your first line of defense against oxidation. When you set your iron too hot, the solder coating breaks down faster, leaving bare metal exposed to oxygen. Keep your temperature as low as possible while still melting solder effectively.
Lead bearing solder performs best at temperatures below 350°C. Lead free solder requires slightly higher heat, but stay under 400°C to avoid accelerating oxidation. Lower temperatures mean your protective solder layer lasts much longer on the tip.
Here’s a practical approach: start with a lower temperature setting and increase it gradually until solder flows smoothly. Once you find that sweet spot, stick with it. Many people run their irons hotter than necessary, which burns through the solder coating quickly and invites oxidation.
Temperature matters most when you finish your work. Before storing your iron, cool it down to a moderate heat level, then apply fresh solder to the tip. This technique is called tinning at cooler temperatures, and it creates a more oxidation resistant coating than solder applied at peak heat.
Your work environment also influences the ideal temperature. If you work in a humid space, slightly higher heat helps solder flow better despite moisture. However, don’t overshoot your temperature guidelines just because of humidity. Instead, focus on keeping your tip coated and stored properly.
Check your iron’s temperature dial or display regularly. Many soldering irons lose accuracy over time, so what you think is 350°C might actually be 380°C. If your iron seems to oxidize unusually fast, temperature creep could be the culprit.
Remember: lower and stable temperatures prevent more oxidation than aggressive heat ever will. This single adjustment makes an enormous difference in how long your tips stay functional and how rarely you need to restore them with tip tinner.
Daily Maintenance and Storage Best Practices
Daily maintenance keeps your soldering iron tip in working condition. The key is preventing oxidation before it starts, not fighting it after the fact.
Always keep solder on your tip. This is the single most important rule. Bare metal exposed to air oxidizes quickly. When you finish soldering, apply a fresh coat of solder to the entire tip surface before powering down. This protective layer acts like a shield against oxygen.
Clean your tip before each use, even if you just used it yesterday. Wipe away old solder residue with a damp sponge or brass wire cleaner. Then apply tip tinner to remove any light oxidation that may have formed during storage. This takes 30 seconds and prevents problems from building up.
Temperature management matters for storage. Before putting your iron away, cool it to a moderate heat level rather than letting it sit at full temperature. This reduces the speed of oxidation. You don’t need to wait until it’s completely cold, just bring it down from maximum heat.
Store your iron in a clean, dry location. Humidity speeds up oxidation, so avoid damp areas like basements or workshops near water sources. If you store your iron for more than a few days, tin the tip again before putting it away.
Check your tip weekly during regular use. Look for discoloration or rough spots forming. Catch these early signs and apply tip tinner immediately. Heavy oxidation takes much longer to remove than light oxidation.
Keep your work area organized. A messy workspace leads to forgotten irons left at high temperatures, which accelerates oxidation. Store cleaning supplies near your soldering station so you remember to use them.
These simple habits add years to your tip’s lifespan and keep your solder joints clean and strong.
Common Mistakes That Accelerate Oxidation
Many people make simple errors that cause their soldering iron tips to oxidize quickly. Understanding these mistakes helps you protect your equipment and maintain better solder joints.
The biggest mistake is storing your iron without solder on the tip. When you finish working, never let bare metal sit exposed to air. Bare metal oxidizes rapidly, especially if your iron sits overnight or between projects. Always apply fresh solder before storage to create a protective coating.
Allowing tips to cool completely while exposed causes serious oxidation problems. Some users turn off their irons and let them sit bare on the workbench. This exposes the metal directly to oxygen in the air. The oxidation layer forms quickly and becomes harder to remove later.
Using excessive heat accelerates oxidation significantly. Running your iron hotter than necessary stresses the tip and speeds up chemical reactions that cause oxidation. Lead bearing solder works best below 350°C, while lead free solder stays under 400°C. Higher temperatures don’t improve your work—they only damage your tip faster.
Poor cleaning habits also contribute to oxidation buildup. If you ignore your tip’s condition and don’t clean it regularly, oxidation spreads deeper into the metal structure. A quick wipe between joints keeps oxidation minimal.
Another common mistake is using the wrong cleaning method. Aggressive scrubbing or using harsh materials can damage the tip’s protective layer. Gentle cleaning with proper tools maintains the tip’s integrity.
Finally, storing your iron in humid or dusty environments speeds oxidation. Moisture in the air reacts with exposed metal surfaces. Keep your iron in a clean, dry location away from moisture and dust.
These mistakes compound over time. One forgotten solder coat leads to light oxidation. Repeated exposure causes heavy buildup. By avoiding these errors, you’ll keep your soldering iron tip functional for years.
Troubleshooting Persistent or Severe Oxidation Issues
When oxidation becomes severe and won’t respond to basic cleaning, you need a different approach. Heavy oxidation creates a thick, crusty layer that regular wire sponges can’t remove effectively.
Tip tinner is your best tool here. This product combines aggressive flux with solder in a paste form. Apply it directly to the oxidized tip while your iron stays hot. The flux eats through the oxidation layer, and the solder helps restore the tip’s surface. Let it sit for 10 to 15 seconds, then wipe away the residue with a damp sponge or brass wool. Repeat this process two or three times if the oxidation is really stubborn.
For extremely severe cases, you can physically remove the tip from your iron. Hold it with pliers or a heat-resistant cloth. Tap it gently against a hard surface to dislodge oxide deposits that have built up inside. This mechanical action breaks loose material that chemical methods alone can’t reach.
Never scrape or scratch the tip aggressively. This damages the plating and makes future oxidation worse. Gentle tapping works better than force.
If your iron has been sitting unused for weeks or months, expect heavier oxidation. The longer bare metal sits exposed to air, the thicker the oxide layer becomes. Start with tip tinner and give yourself extra time for it to work.
Some people find that cycling through multiple cleaning sessions over a few days helps. Do one session, let the iron cool, then repeat the next time you use it. This gradual approach works well for very thick oxidation.
After you clear the severe oxidation, follow strict prevention habits. Keep solder on your tip constantly. Store your iron properly. These steps prevent the problem from returning and keep your soldering joints clean and reliable for future work.
Final Thoughts
Fixing an oxidized soldering iron tip is simpler than most people think. The real secret lies in prevention, not constant repair. Once you understand why oxidation happens, you can stop it before it starts.
Your tip oxidizes when metal meets air without a protective barrier. Solder acts as that shield. This basic fact explains almost every fix you will ever need.
Tip tinner remains your most reliable tool for restoring a heavily oxidized tip. It combines flux and solder to break down stubborn oxide layers quickly. Keep some on hand for those moments when cleaning alone won’t cut it.
Temperature control also plays a bigger role than many realize. Lead based solder works best under 350°C. Lead free solder needs slightly more heat, but stay under 400°C. Running hotter than necessary speeds up oxidation and shortens your tip’s life.
Think of tip care like brushing your teeth. Small daily habits prevent big problems later. A few seconds of cleaning now saves you from a frustrating repair session later.
If you already have a badly oxidized tip, don’t panic. Most tips can be restored rather than replaced. Patience and the right technique make a real difference here.
Remember that oxidation is a natural process. You cannot stop metal from reacting to air completely. Your goal is to manage it, not eliminate it entirely.
With consistent care, your soldering iron tip can last for years. Clean joints, steady heat control, and proper storage all work together. These habits protect your tool and improve your soldering results at the same time.
A well maintained tip makes every project easier. It heats evenly, transfers solder cleanly, and lasts much longer. Taking a few extra minutes for maintenance pays off every single time you solder.
Frequently Asked Questions
Why does my soldering iron tip oxidize so quickly?
Your tip oxidizes when bare metal touches air. Solder normally protects the metal underneath. When you remove solder or let the tip cool without protection, oxygen attacks the exposed surface. This happens faster at high temperatures because heat speeds up the chemical reaction.
Oxidation blocks heat transfer. Your iron works harder but delivers less warmth to your joints. This creates weak solder connections and frustrating work sessions.
How do I know if my tip is oxidized?
An oxidized tip looks dull, crusty, or discolored. You might see black, gray, or brown buildup on the surface. A healthy tip appears shiny and has solder clinging to it.
If solder won’t stick to your tip anymore, oxidation is the problem. The tip feels “dead” because heat doesn’t flow properly to your work. Your solder beads won’t flow smoothly either.
What’s the best way to clean an oxidized tip?
Use tip tinner, which contains aggressive flux mixed with solder. Dip your hot iron into the paste and let it sit for a few seconds. The flux eats away oxidation while fresh solder coats the tip.
Wipe your tip on a damp sponge or brass wool afterward. This removes excess material and reveals the clean surface beneath. Repeat this process if heavy oxidation remains.
Can I prevent oxidation from happening again?
Yes. Keep solder on your tip at all times. Before storing your iron, add fresh solder to the tip. This creates a barrier against air exposure.
Clean your tip before each use and maintain that solder coating. When you finish working, tin your tip at cooler temperatures. Store your iron properly so the solder stays put.

Hello, i’m Ivoria i am the face behind Tech Tracker Blog. I am passionate about my work and love to explore gadgets and share about my experience.