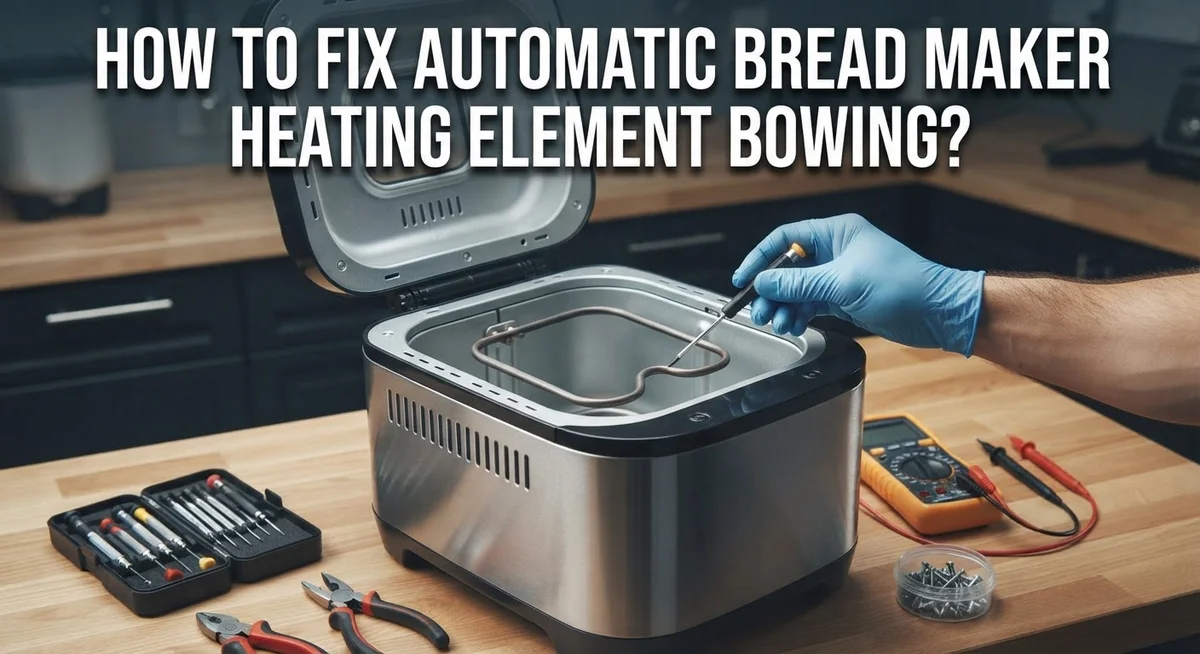
How To Fix Automatic Bread Maker Heating Element Bowing?
Does your bread maker suddenly bake loaves that look sad and flat? A bowing heating element might be the hidden culprit.
This common issue affects many machines, especially certain Hamilton Beach models. The metal coil warps from constant heat cycles. Over time, it loses contact with your bread pan.
The good news? You do not need a repair technician for this. Fixing a bowed heating element is a simple task you can do at home.
In a Nutshell
- Bowing happens over time. The heating element bends due to heat stress. This bending reduces contact and lowers baking power.
- Power off first. Always unplug the machine before you touch any part inside. This step keeps you safe from shock.
- The fix is simple. You remove a few screws, pull the element out gently, and disconnect the wires. Then you swap in a new element.
- It only works during baking. The heating element activates only in the bake cycle, not during kneading or rising. This is normal and expected.
- Early action saves your loaves. Ignoring a bowed element leads to dense or underbaked bread. Fixing it early keeps your results consistent.
- DIY saves money. This repair is genuinely budget friendly. You skip technician fees and handle it yourself in a short time.
What Is Heating Element Bowing and Why It Happens
A bowing heating element is when the metal rod inside your bread maker curves or bends out of shape instead of staying straight. This curved element cannot heat your bread evenly. Some spots get too hot while others stay cold, leaving you with uneven baking results.
Why does this happen? Heat stress is the main culprit. Every time you bake, the heating element expands when it gets hot. Over many baking cycles, this repeated expansion and contraction weakens the metal. Eventually, the element develops a permanent curve or bow.
The metal also oxidizes over time. Oxidation creates weak spots in the element’s structure. These weak spots make the metal more likely to bend under heat pressure. Think of it like a rubber band that has been stretched too many times. It loses its ability to return to its original shape.
Certain bread maker models experience this issue more often than others. Machines that run hotter or have longer bake cycles put extra stress on the element. Poor quality materials also play a role in how quickly bowing develops.
A bowed element reduces baking efficiency significantly. The heating becomes uneven and unpredictable. Your bread may turn out dense on one side and underbaked on the other. The crust might brown too quickly while the inside stays doughy.
The good news is that bowing does not happen suddenly. You usually notice warning signs first. Your loaves might bake slower than normal. The crust color becomes inconsistent. These early signs tell you the element needs attention soon.
Catching the problem early prevents worse damage to your machine. A slightly bowed element can still work, but it will only get worse with more use.
Signs Your Bread Maker’s Heating Element Is Bowing
Your bread maker sends clear warning signs when the heating element starts to bow. Learning to spot these signals helps you fix the problem before your bread suffers.
Uneven baking patterns are the first red flag. You might notice the bottom of your loaf burns dark while the top stays pale. The sides could bake faster than the center. These inconsistencies mean heat is not distributing evenly inside the chamber.
Dense or underbaked loaves appear regularly even when you follow recipes correctly. The bread feels heavy and compact instead of light and airy. Sometimes the inside stays slightly damp or gummy. This happens because the bowed element cannot deliver consistent heat throughout the bake cycle.
Longer baking times become necessary to achieve done bread. Your machine might need an extra 10 to 15 minutes beyond the normal cycle. This is your machine working harder to compensate for reduced heating power.
Visual inspection reveals the problem directly. Open your bread maker and look at the heating element at the bottom. A healthy element sits flat and straight. A bowing element curves upward or bends to one side. You might see a visible arc or crescent shape.
Unusual sounds or smells during baking also indicate trouble. You might hear crackling or popping noises. Strange burnt smells could emerge even when nothing is burning.
Temperature fluctuations inside the baking chamber become noticeable. Some spots feel hot while others stay cool. Your machine struggles to maintain steady warmth.
Pay attention to these signs early. Acting quickly prevents your machine from working harder than necessary and keeps your baking results consistent and delicious.
Tools and Safety Precautions Before You Start
Before you start fixing your bread maker’s heating element, gather the right tools and take safety steps seriously. These precautions protect you and prevent damage to your machine.
Essential tools you will need include a screwdriver set with both Phillips and flathead options. Most bread makers use standard screws, but checking your manual helps. You also need a flashlight or headlamp to see inside the machine clearly. A small bowl works well for organizing screws so you don’t lose them during disassembly.
Have a multimeter available if you want to test the heating element before and after repair. This device measures electrical current and confirms whether the element functions properly. Needle nose pliers help you disconnect wire connectors gently without damaging them.
Safety precautions come first. Always unplug your bread maker from the electrical outlet completely. Wait at least 30 minutes for the machine to cool down fully after its last use. Never attempt this repair while the machine is plugged in or still warm.
Wear safety glasses to protect your eyes from small metal pieces or debris. Work on a clean, flat surface with good lighting. Keep your workspace organized so you can find tools easily and avoid accidents.
Read your bread maker’s manual before starting. Different models have slightly different layouts and screw locations. If you feel uncomfortable working with electrical components, contact a professional repair service instead.
Taking these steps prevents injury and ensures success. You protect yourself while keeping your bread maker safe from accidental damage during the repair process.
Step-by-Step Guide to Fixing a Bowed Heating Element
Your bread maker’s heating element repair follows a clear process. Start by ensuring your machine sits unplugged and completely cool before touching any internal parts.
Locate the heating element by opening your bread maker’s housing. Most models have the element mounted at the bottom or side of the baking chamber. Check your manual for the exact location in your specific machine.
Remove the securing screws carefully using the appropriate screwdriver. Place these screws in a small container so you don’t lose them. Take a photo of the screw positions if remembering placement seems difficult.
Gently pull the heating element toward you until you can see the wire connections clearly. Do not force it suddenly. The element should slide out gradually without resistance.
Disconnect the wires from the element terminals. Most bread makers use simple push on connectors that pull straight off. Note which wire connects to which terminal before removal. You can take another photo for reference.
Lift out the old element completely. Inspect the area inside for any debris or corrosion. Wipe the connection points clean with a dry cloth.
Install your replacement element by reversing these steps. Push the new element into position first. Reconnect the wires to their original terminals. Secure the mounting screws firmly but do not overtighten them.
Test your work by plugging the machine back in and running a test cycle without bread. The heating element should warm up during the bake cycle and feel warm to the touch through the housing.
Your repair is complete when the element heats evenly and your bread bakes uniformly throughout.
How to Test the Heating Element After Repair
Testing your heating element after repair ensures your bread maker works properly. This step confirms your fix was successful before you bake another loaf.
Start by plugging your bread maker back into the outlet. Make sure the power cord connects firmly. Press the power button and listen for any unusual sounds. The machine should turn on without clicking or buzzing noises.
Set your bread maker to the bake cycle only. Do not add bread or ingredients yet. This test run lets you observe the heating element without wasting food. Run the machine for about five to ten minutes, then stop it.
Feel the baking chamber carefully with your hand near the sides. The interior should become warm, not hot. A properly working heating element produces steady, even heat. If one side feels much hotter than the other, the element may still have issues.
Use a multimeter if you have one available. Set it to the resistance or ohms setting. Touch the meter’s probes to the element’s terminals. A working element shows a specific resistance reading. Check your bread maker’s manual for the correct number.
Listen throughout the test cycle. The heating element should activate quietly. You may hear a soft hum or click when it turns on and off. Loud noises suggest a problem.
Run a second test with a small amount of dough. Bake it on a short cycle. The bread should bake evenly with a golden brown crust. Uneven browning means the heating element still needs attention.
If everything feels warm, sounds normal, and bakes evenly, your repair succeeded. Your bread maker is ready for regular use again.
Common Mistakes to Avoid During Repair
When repairing your bread maker’s heating element, certain mistakes can cause damage or injury. Understanding what to avoid helps you complete the job successfully.
Never skip the power disconnection step. This is the most critical mistake people make. Your bread maker contains electrical current that can harm you. Always unplug the unit and wait several minutes before touching internal parts. The element stays hot even after unplugging, so give it time to cool completely.
Rough handling during removal causes permanent damage to the heating element. Pull gently and steadily. Yanking or twisting the element breaks internal wires or cracks the metal casing. Take your time when disconnecting wires from the terminals. These connections are delicate and snap easily if you force them.
Ignoring early bowing signs leads to worse problems later. When you first notice your heating element bowing, address it immediately. Delayed repairs result in dense, underbaked loaves that waste ingredients and time. Bowed elements cannot distribute heat evenly across the baking chamber.
Don’t assume the element is completely broken without testing it first. Some bowing doesn’t affect function during the initial stages. A multimeter helps you verify whether the element still conducts electricity properly.
Avoid working on your bread maker when you feel rushed or tired. Mistakes happen when you hurry through repairs. Set aside adequate time to complete each step carefully and methodically.
Never reuse the old heating element after removal. Attempting to straighten or repair a bowed element creates safety hazards. The metal weakens when bent and may fail suddenly during operation. Always install a fresh replacement element to ensure reliable performance and consistent baking results for future bread batches.
Troubleshooting Persistent Heating Problems
When your bread maker’s heating element bows, it creates gaps between the element and the baking chamber. This prevents proper heat distribution. Your bread comes out dense, underbaked, or with uneven browning.
Early detection saves you time and frustration. Watch for these warning signs during the bake cycle. Your bread takes longer to bake than usual. The crust browns unevenly or stays pale. The interior stays doughy while the outside hardens.
The heating element only activates during the bake cycle phase. You won’t notice problems during mixing or rising stages. Pay attention specifically when your machine reaches the baking portion.
Persistent heating problems get worse over time. A slightly bowed element becomes severely bowed within weeks. The damage accelerates because the element works harder to compensate. Eventually, your machine stops heating altogether.
Address bowing immediately when you first notice it. Delayed repairs mean more failed loaves and wasted ingredients. You’ll spend more money replacing multiple batches of ruined bread than fixing the element itself.
Test your heating element’s actual performance before assuming it’s broken. Sometimes bowing appears worse than it actually is. Use a multimeter to check electrical continuity. Feel the baking chamber during a test cycle without bread inside. This tells you whether the element still generates heat despite its shape.
DIY repair is cost effective and straightforward. Most bread maker owners complete this repair in under an hour. You need only basic tools like a screwdriver. The replacement element costs significantly less than professional repair services or buying a new machine.
Taking action quickly prevents expensive problems down the road. Your bread maker will return to producing perfect loaves consistently.
Maintenance Tips to Prevent Future Bowing
Preventing future bowing requires consistent care and smart usage habits. Your heating element stays healthier when you follow a few key maintenance practices.
Clean your bread maker regularly after each use. Crumbs and flour dust accumulate inside the baking chamber and can trap heat unevenly. This uneven heat distribution stresses your heating element over time. Simply wipe the chamber with a dry cloth after every bake cycle.
Check your bread maker’s power cord and outlet monthly. Electrical fluctuations damage heating elements faster than normal wear. If you notice flickering lights when your bread maker runs, have an electrician inspect your outlet.
Avoid overfilling the baking chamber. Too much dough pushes against the heating element and causes unnecessary pressure. Follow your bread maker’s recommended dough weight guidelines. Excess dough also bakes unevenly and creates hot spots that warp the element.
Let your bread maker cool completely between bake cycles. Running consecutive batches without cooling time overheats the element. Wait at least 30 minutes between uses.
Store your bread maker in a dry location away from humidity. Moisture corrodes the heating element’s metal components and causes premature failure. Keep it on a clean, level surface.
Use the correct cycle settings for your bread type. Running the bake cycle longer than necessary strains your heating element. Match the cycle time to your recipe requirements.
Inspect your heating element every three months for early bowing signs. Catching problems early prevents complete failure. Look for visible bending or gaps between the element and chamber walls during the bake cycle.
These maintenance steps significantly extend your heating element’s lifespan and keep your bread maker functioning properly for years.
Final Thoughts
Fixing a bowed heating element is a task you can handle yourself. You don’t need special tools or expert help.
Patience and care make all the difference here. Rushing through the steps often causes more harm than good.
Remember to always disconnect power first. This single step keeps you safe throughout the entire repair process.
Take your time removing screws and pulling wires. Gentle handling protects the new element from damage during installation.
Your bread maker will reward you with better loaves once fixed. No more dense centers or undercooked spots in your bread.
Hamilton Beach owners especially benefit from learning this repair. These models show bowing issues more often than other brands.
The whole process takes less than an hour for most people. That’s a small time investment for fresh homemade bread again.
Testing your element before replacing it saves you effort. Sometimes the issue is simpler than a full bowing problem.
Regular maintenance keeps this problem from returning. Simple habits protect your investment for years to come.
Don’t wait until your bread comes out completely ruined. Early action always beats delayed action with bread makers.
This repair puts you back in control of your kitchen. You save money and gain confidence with tools in hand.
Every bread maker owner faces wear over time. Knowing how to fix a bowed element means you’re never stuck.
Your next loaf can taste just as good as the first one. A little effort now leads to many more delicious loaves ahead.
Trust the process, follow the steps, and enjoy fresh bread again soon.
Frequently Asked Questions
Why does my heating element bow in the first place?
Heating elements bow because of repeated thermal stress. Your element heats up and cools down many times. Metal expands when hot and contracts when cold. Over time, this constant expansion and contraction weakens the metal. The element gradually bends outward. Overfilling your bread maker makes this worse because extra dough pressure pushes against the element during heating.
Can I still bake bread with a bowed element?
You can still bake, but the results suffer. A bowed element doesn’t heat as efficiently. Your bread may come out dense, underbaked, or pale. The element loses contact with the baking chamber in some spots. Heat distribution becomes uneven. Early bowing causes minor issues, but severe bowing ruins your loaves.
How do I know if my element is actually broken?
Test it before you assume it needs replacement. The element only activates during the bake cycle, not during mixing or rising. Start a bake cycle and feel the baking chamber walls carefully. They should get warm within a few minutes. If nothing happens after five minutes, your element has a real problem. If the chamber gets hot but unevenly, bowing is likely the culprit.
Is this repair something I can do myself?
Yes, absolutely. Most people complete this repair in under an hour. You need basic tools like a screwdriver. The steps are straightforward: disconnect power, remove screws, pull out the element, disconnect wires, and install the new one. Take your time and work carefully. Rough handling can damage other components inside your bread maker.
What’s the biggest mistake people make during this repair?
Forgetting to disconnect power is the most dangerous mistake. Always unplug your bread maker first. The second biggest mistake is rushing through wire removal. Pull gently and note which wires connect where before disconnecting them. Take a quick photo if it helps you remember the setup.

Hello, i’m Ivoria i am the face behind Tech Tracker Blog. I am passionate about my work and love to explore gadgets and share about my experience.