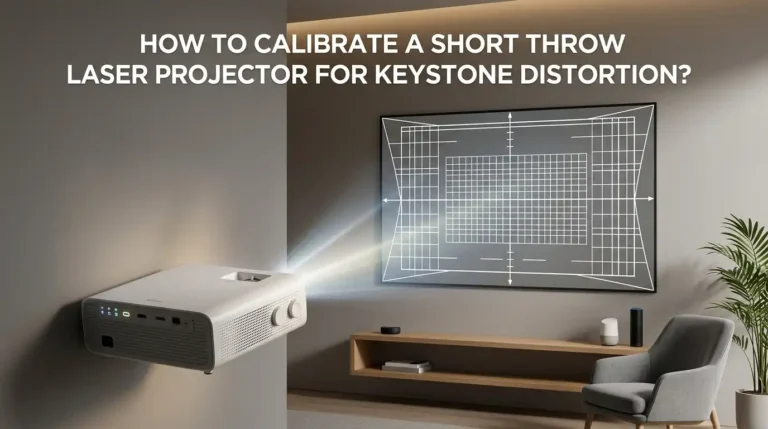
Why Is My Ultrawide Monitor Picture In Picture Mode Distorting Aspect Ratios?
You switched on Picture in Picture mode, and suddenly your image looks squished, stretched, or just plain wrong. Circles turn into ovals. Faces look thin. Game maps look flattened. It feels like your expensive ultrawide just betrayed you.
The good news is simple. This problem is almost always fixable. It is rarely a hardware fault. Most of the time, your monitor and your computer are simply talking past each other about resolution and shape.
In this guide, you will learn exactly why this distortion happens. You will also get clear, step by step fixes you can try right now. Let us solve this together.
Key Takeaways
- The root cause is a resolution mismatch. Your computer keeps sending a wide 32:9 or 21:9 signal, but each PIP or PBP window only has space for a smaller, narrower shape. The image gets squeezed to fit.
- Your monitor does not always tell your PC about the change. When you enable Picture in Picture, the monitor often fails to send updated EDID data. So Windows never switches the resolution to match.
- You usually fix this manually. Setting the correct resolution for each source in your display settings solves most distortion problems in minutes.
- The OSD aspect ratio setting matters a lot. Look for options like Aspect, Fill, or Full in your monitor menu. The wrong one stretches your picture on purpose.
- Cables and docks can break the chain. A bad USB-C dock or a weak cable can block the monitor from negotiating the right resolution.
- GPU scaling settings act as a backup fix. NVIDIA, AMD, and Intel control panels let you force the correct aspect ratio when nothing else works.
Understanding What Picture In Picture Mode Actually Does
Picture in Picture, often shortened to PIP, lets your ultrawide show two video sources at once. One source fills the main screen. The other source sits in a small floating box, usually in a corner.
There is also a cousin called Picture by Picture, or PBP. This mode splits your screen into two equal halves, side by side. Each half shows a different input.
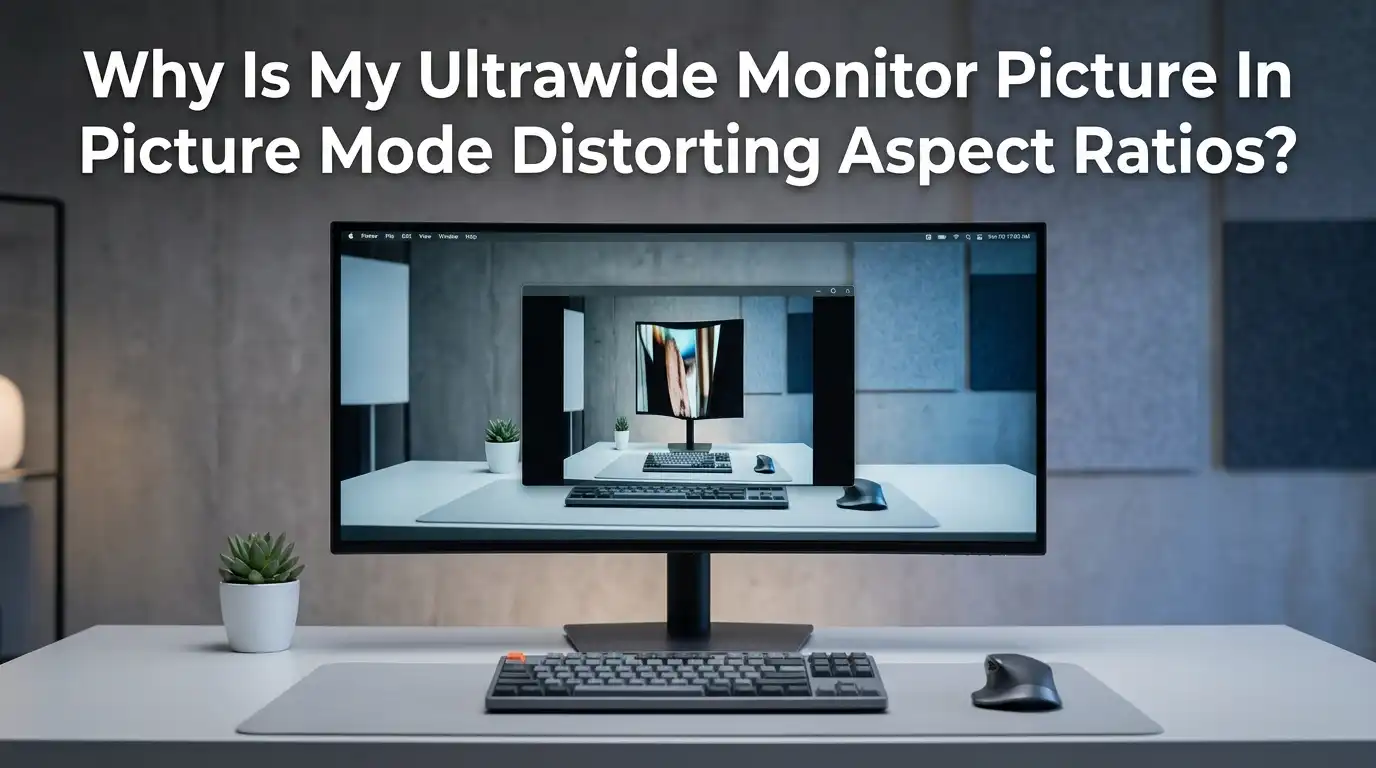
Both modes change the available drawing space. A full ultrawide might be 5120×1440 pixels. In PBP, each half becomes roughly 2560×1440. That is a totally different shape. Your computer needs to know about this change. When it does not, the picture squeezes into the wrong box and distortion appears instantly.
Why The Aspect Ratio Distorts In The First Place
Here is the core idea in plain terms. Every image has a shape, called an aspect ratio. A normal screen is 16:9. An ultrawide is often 21:9 or 32:9.
When PIP or PBP starts, the target box on your monitor changes shape. But your graphics card often keeps sending the old, wide signal. The monitor then forces that wide image into a narrower box. Everything gets crushed sideways.
Think of it like this. You are pouring a wide picture into a tall glass. The liquid still fits, but it changes shape to do so. That is exactly why circles look like eggs and people look stretched. The pixel count did not match the new container.
The Most Common Cause: A Resolution Mismatch
This is the number one reason for distortion, and it is worth understanding well. Your monitor reports a list of supported resolutions to your PC through data called EDID.
When you turn on Picture by Picture, the monitor should update that EDID. It should tell your PC, “Hey, now I am two 2560×1440 screens.” Many monitors fail to do this reliably.
So your computer keeps outputting 5120×1440. The monitor then crams that wide frame into a half-width window. The result is a horizontally squished image. One real user described it perfectly: the picture scrunched into half the width the moment PBP turned on. Fixing the resolution by hand almost always solves it.
Step By Step Fix: Set The Correct Resolution Manually
This is the fix that works most often, so try it first. You will tell Windows the exact resolution each source should use.
First, enable your PIP or PBP mode using the monitor’s OSD menu. Next, right click your desktop and choose Display settings. Scroll down to Display resolution.
Now pick the resolution that matches the window shape. For a half-width PBP window on a 5120×1440 monitor, choose 2560×1440. For a 3440×1440 ultrawide split, try 1720×1440 if it appears.
The image should snap into correct proportions right away. Repeat this for each computer or input source. Remember, you may need to redo this every time you switch modes, since the monitor does not always automate it.
Pros: It is free, fast, and reliable. Cons: It is manual, and you may repeat it after each mode switch.
Step By Step Fix: Adjust The Aspect Ratio Setting In Your Monitor Menu
Your monitor’s own menu holds a powerful setting. Most ultrawides include an aspect ratio control inside the OSD.
Open your monitor menu using the physical buttons or joystick. Look for a section named Picture, Screen, or Aspect Ratio. Inside, you will often see options like Full, Aspect, Fill, or 1:1.
The Full or Fill option stretches the image to cover the whole window. This is usually what causes distortion. Switch to the Aspect or Aspect Ratio option instead. This keeps the original shape and adds black bars if needed.
For example, Dell ultrawides offer PBP Full, which stretches vertically, and PBP Aspect Ratio, which preserves shape. Choosing Aspect Ratio fixes the stretch but trims the usable area slightly.
Pros: It works at the monitor level, no PC changes needed. Cons: You may lose some screen space to black bars.
How To Fix Distortion Using NVIDIA Control Panel
If you use an NVIDIA graphics card, you have a strong backup tool. The NVIDIA Control Panel can force the correct scaling.
Right click your desktop and open NVIDIA Control Panel. On the left, click Adjust desktop size and position. Choose the display that shows distortion.
Under scaling mode, pick Aspect ratio. This stops the card from stretching the image to fill the panel. Set Perform scaling on to GPU, then apply.
Now set your resolution to match the PIP window, as described earlier. The GPU will now respect the original image shape. This is helpful when the monitor refuses to behave on its own.
Pros: It gives you precise control over scaling behavior. Cons: It only helps NVIDIA users, and settings can reset after driver updates.
How To Fix Distortion Using AMD And Intel Settings
AMD and Intel users have similar tools, so nobody is left out. The menus look different, but the goal stays the same.
For AMD, open AMD Software: Adrenalin Edition. Go to Display, then find GPU Scaling and turn it on. Set the scaling mode to Preserve Aspect Ratio. This stops the stretch.
For Intel, open the Intel Graphics Command Center. Click Display, then General. Find the scaling option and choose Maintain Aspect Ratio. Avoid the Custom stretch setting, since it can scramble the whole image.
One user found that the Custom scaling option made everything go haywire. So stick with aspect-preserving choices. After setting this, confirm your resolution matches the PIP window for the cleanest result.
Pros: Built-in and free for AMD and Intel hardware. Cons: Menus change between driver versions, which can confuse the steps.
Check Your Cables And Docks Before Blaming The Monitor
Sometimes the distortion has nothing to do with software. The weak link is a cable or a dock sitting between your PC and the screen.
A USB-C dock can block proper resolution negotiation. It may refuse to pass the correct EDID data, so your PC never learns about the PBP change. One real user fixed everything by removing the dock entirely.
They swapped to a direct DisplayPort to USB-C cable. The middleman disappeared, and the image worked perfectly in PBP mode. This is an easy thing to test.
Try connecting your computer straight to the monitor. Use a quality DisplayPort or HDMI cable rated for your resolution. Pros: A direct connection removes a common failure point. Cons: You may lose dock features like extra ports or charging.
Make Sure Each Input Uses Its Own Source
Picture by Picture is built to show two separate inputs. This detail confuses many people and causes layout problems.
You cannot usually split one single input into two PBP halves and expect clean results. The monitor expects one cable per window. For example, one computer through DisplayPort and another through HDMI.
If you feed the same signal into both, or misconfigure the source map, the picture can land in the wrong shape. Always check your input assignment in the OSD menu.
Confirm that the left window points to one input and the right window points to another. Match each computer’s output resolution to its half of the screen. This keeps both images crisp and correctly shaped, with no surprise stretching across the divide.
Create A Custom Resolution When Nothing Is Listed
Sometimes the perfect resolution simply does not appear in your settings list. This happens when the monitor never reports the half-width mode. You can add it yourself.
NVIDIA, AMD, and Intel control panels all allow custom resolutions. In NVIDIA, open Change resolution, then click Customize, then Create Custom Resolution. Enter the exact width and height your PIP window needs.
A free tool called Custom Resolution Utility, or CRU, also works well. It edits the EDID information your PC reads. Use it carefully, since wrong values can cause a black screen.
Always keep a way to undo changes, like booting into safe mode. Pros: It unlocks resolutions your monitor hides from you. Cons: It carries some risk, and mistakes need a careful reset.
Update Your Graphics Drivers And Monitor Firmware
Outdated software causes more display bugs than people expect. A simple update can repair PIP distortion without any manual tweaking.
Start with your graphics driver. Visit the official NVIDIA, AMD, or Intel website and download the latest driver for your card. A clean install often fixes scaling glitches.
Next, check your monitor maker’s support page for firmware updates. Many ultrawide brands release firmware that improves PBP and EDID behavior. A firmware fix can make the monitor finally report the right resolution on its own.
Apply firmware updates carefully and never unplug the monitor mid-update. Pros: Updates can permanently fix the root cause. Cons: Firmware updates carry a small risk if interrupted, so follow instructions closely.
Use Manufacturer Display Software For One Click Switching
Switching resolutions by hand every time gets tiring fast. Many monitor brands offer desktop software to make this easier.
Dell offers Dell Display Manager. LG and Samsung provide their own utilities too. These tools let you move, resize, and arrange PIP and PBP windows from your desktop.
Some let you save profiles. You click once, and the layout plus resolution snaps into place. This removes most of the repetitive setup work.
These tools cannot always force a resolution change on your PC, but they make management far smoother. Pros: One click switching saves real time and reduces frustration. Cons: The software only works with matching brand monitors, and it adds a background app to your system.
When The Problem Is The Monitor Itself
Sometimes you do everything right, and the image still looks wrong. At that point, the limitation may live inside the monitor.
Cheaper or older ultrawides sometimes handle PBP poorly. They may only offer a Full stretch mode with no aspect ratio option at all. In that case, true distortion-free PBP is simply not supported.
You can confirm this by reading the monitor manual. Search for the words PBP, PIP, and aspect ratio in the document. If the aspect-preserving mode does not exist, the hardware is the wall you hit.
This is rare on modern, well-reviewed displays. Pros: Knowing this saves you from endless troubleshooting. Cons: The only real fix may be using a different monitor for serious dual-source work.
Frequently Asked Questions
Why does my ultrawide stretch the image only in PBP mode?
Because the monitor splits into smaller windows, but your PC keeps sending the full wide resolution. The wide signal gets crushed into the narrow half. Set each source to the half-width resolution, like 2560×1440, to fix it.
Does Picture in Picture lower my image quality?
It can, slightly. Each window uses fewer pixels than the full panel, so fine detail drops a little. As long as you match the resolution to the window, the image stays sharp and correctly shaped.
Will changing the OSD aspect ratio setting hurt my display?
No, it is completely safe. Switching between Full and Aspect only changes how the image scales. You can toggle it as often as you like with no harm to the monitor.
Why does my second computer distort but my main PC looks fine?
Your main PC likely auto-detects the PBP resolution, while the second one does not. This often comes down to the cable, dock, or graphics driver. Set the resolution manually on the second machine.
Can a bad cable really cause aspect ratio problems?
Yes, it can. A weak cable or USB-C dock can block the monitor from reporting the correct resolution. A direct, high-quality DisplayPort or HDMI connection often fixes the distortion on its own.
Do I need special software to fix PIP distortion?
Usually no. Adjusting display resolution and the OSD aspect ratio solves most cases. GPU control panels and brand utilities are helpful backups when the simple steps do not fully work.

Hello, i’m Ivoria i am the face behind Tech Tracker Blog. I am passionate about my work and love to explore gadgets and share about my experience.